 |
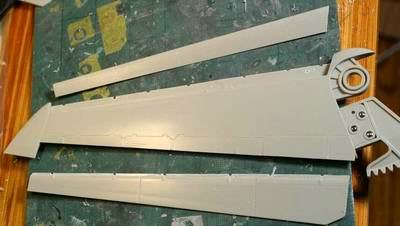
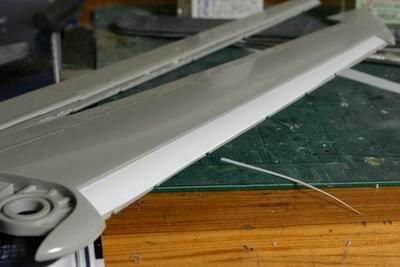
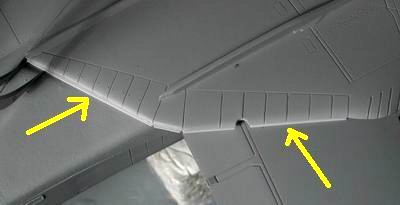
フラップとスラットを切り離す。その前に上下パーツはしっかり接着してから作業を行う。最初はラインスクレーバーである程度彫った後にカッターナイフを立てて切断する。 Cut flaps and slats out from the wing after top and bottom wing parts have been glued. Make deep lines with a line scriber first and then cut with a cutter knife. |
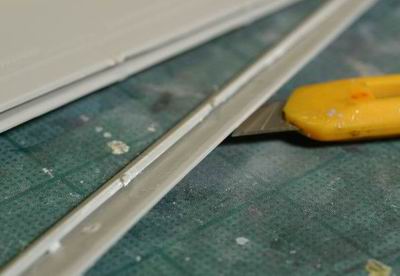 |
スラットの上部はカッターナイフを立ててできうる限り薄く削る。 Plane away the inner upper part of the slats as thin as possible with cutter knife. |
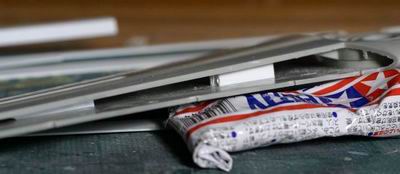 |
両端を切り離したので、ウイング内の支えを挿入する。 Put a piece of plastic sustainer into the space to hold the surfaces of the wings. |
 |
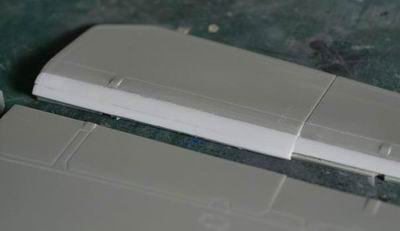
0.5mm??のプラ版でスラットの内側を製作。写真のように台座をおき、手でに曲面をつけたプラ版を接着する。 Make inside covers of the slats with 0.5mm thin Evergreen plastic. Bend by hand and glue on pedestals. |
 |
両ウイングで対象にすることが重要。 It's important to be symmetric on both side. |
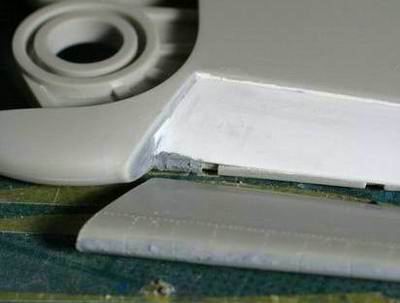 |
隙間はパテで修正。 Put putty in the gaps. |
 |
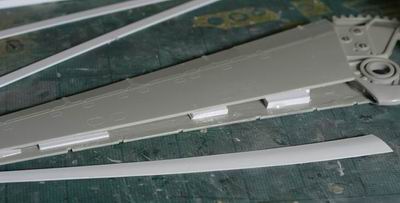
フラップは足りない部分をプラ材で追加。角材をはめこみ、やすりで形を整える。 Put Evergreen strips at the corner and shave it with sanding tools. |
 |
はまり具合を調整しながら整形していく。 Adjust the shape as you're dry-fitting it to make sure it fits into the wing. |
 |
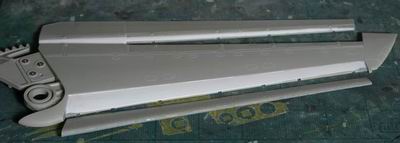
ここまでできたらウイングを固定する。 Fix main wings to the body after adjusting the flaps and slats. |
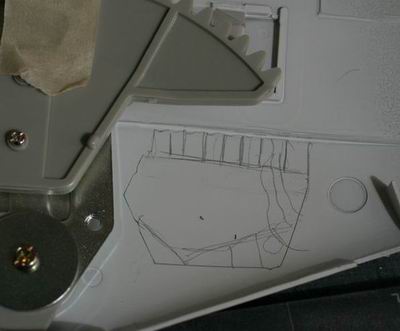 |
足格納庫をディテールアップする。白のサーフェサーを吹いた後、鉛筆で追加部品をデザイン。 Detail-up inside main gear bay. After spraying white primer, draw marks with pencil for additional parts. |
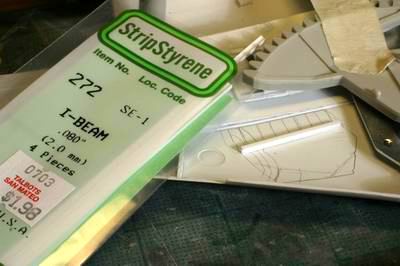 |
エバーグリーンの2mmのIビームが役に立った。 I used Evergreen 2mm I-Beam. |
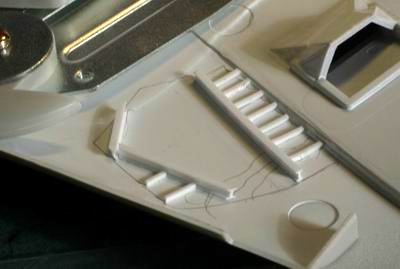 |
角材と組み合わせてビームを設置する。 Arrange the beams and rectangles. |
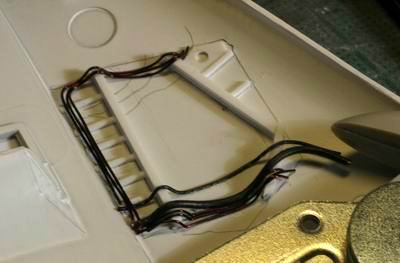 |
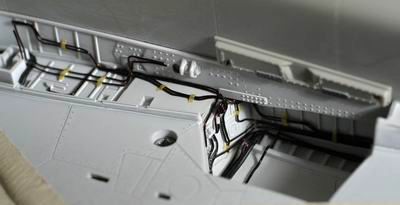
エナメル線を瞬間接着剤で配置していく。 Glue enamel lead lines with instant glue for cabling. |
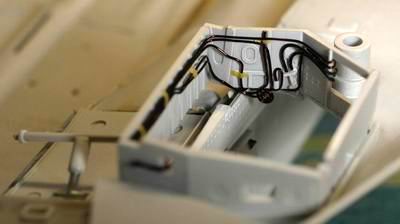 |
線の止め具はマスキングテープを小さく切って貼り付け、瞬間接着剤を流し込む。 I immitated the wire holders with masking tapes. Cut tape into small strips and glue it with instant glue. |
 |
ちょっと見づらいが真中にある渦巻きがポイントである。 The spiraling wire in the center of the photo is a nice accent. |
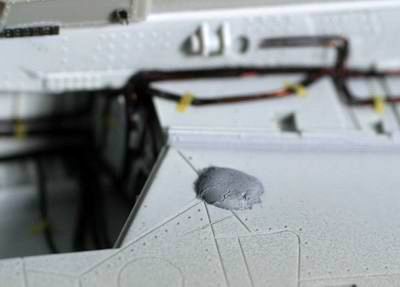 |
ネジの穴はみっともないので、パテでふさぎ、後ほど削り取る。 Put putty into the big screw hole. Shave it after it dried. |
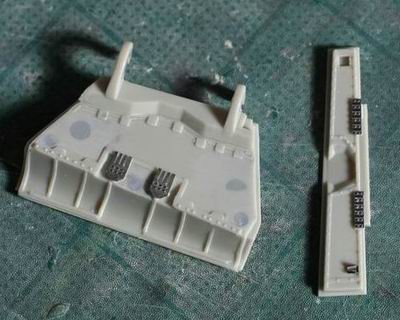 |
車輪格納庫のパネル裏はピンマークを消して、エデュアルドのエッチングでディテールアップした。使ったのは写真に写った部品だけ。 Remove the pin marks with putty and put some Eduard's photo-etch for detailing -up inside the leg cover. |
 |
可動翼のスレ防止用のゴム?をエヴァーグリーンで作りこむ。 Put thin Evergreen plastics between wing and wing cover. I don't know what it is, is it rubber? |