 |
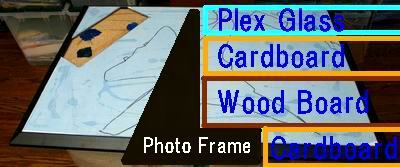
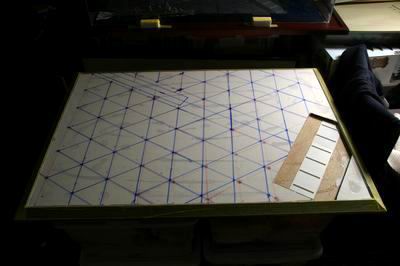
ジオラマベースの内部構造を説明しよう。まず、フォトフレームにホームデポで購入した1cm厚の木のボードをはめ込む。その上に厚さを稼ぐため、フレームに入っていた段ボールを貼り付け、こちらもホームデポで買ったプレキシグラスを貼り付ける。そして下にフレームにもう1枚入っていた段ボールを貼り付け完成。下に段ボールを貼ったおかげでスルスルと動かせ、作業が楽になった。 This diagram shows inside structure of the diorama base. I put 1cm thick wood board to the frame first, put cardboard on it to adjust thickness and then put Plexiglas on top. I glue them together. Lastly I put a cardboard to the bottom so that the base slides easily for working. |
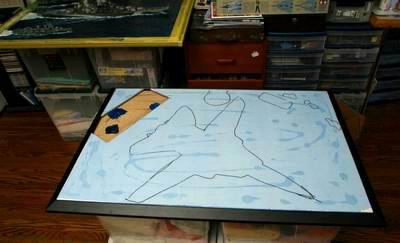 |
プレキシグラスには青いビニールが貼ってある。 まずは、JDB収納スペースの製作。 There is a blue sheet on the Plexiglas. I cut Plexiglas and cardboard out for JDB hole.。 |
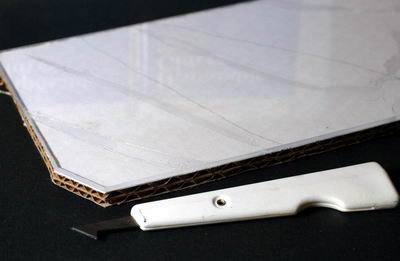 |
プレキシグラスはガラスカッターで簡単に切れる。 I used a glass knife to cut Plexiglas. |
 |
切り出した端材の断面。 Top 2 layers. |
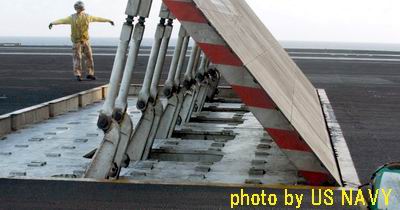 |
これが実物。 Storage for the Jet Blast Deflector |
 |
まず穴部分の底板をつける。 タイダウン(飛行機を駐機する時にチェーンで甲板に固定するための十字の穴。)の位置決めを行った。穴の間隔は90mm。 I put a board at the bottom of the JDB storage. I also marked the position of Tie Downs (The holes for tie the aircraft down to the deck.) The distance between Tie Downs is 90mm. |
 |
底上げした底板。 Raised floor board. |
 |
底板のはめ込み。 Put it into the hole. |
 |
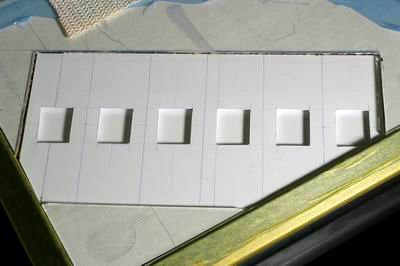
クッション(?)の四角い板を貼っていく。 Put the rectangle cushions(?) on the surface. |
 |
タイダウン用の穴あけは電気ドリルで行った。プレキシグラスのひび割れに注意! Make the Tie Down hole with hand drill. Be careful not to crack the Plexiglas. |
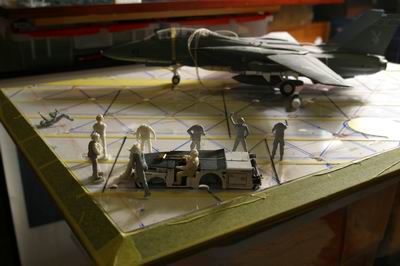 |
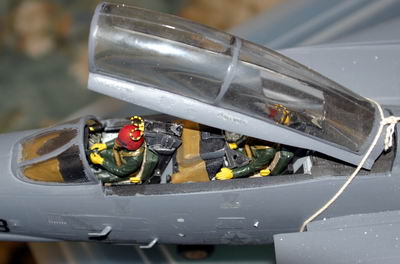
ベルギーからフィギュアが届き、とりあえず並べてみた。この時はとにかく、人をいっぱい置きたいという考えしかなかった。後で親友の原島氏から、「人を置くならストーリーを考えなければ駄目だ」とアドバイスを受け、大きく変わっていった。 After the order has arrived from Belgium. I put all 10 figures on the base. At first, I thought it would be better if I put as many as figures on the diorama. However my friend Mr. Harashima suggested "Think of each story or role for each figure." Eventually, I picked up only 6 of those. |
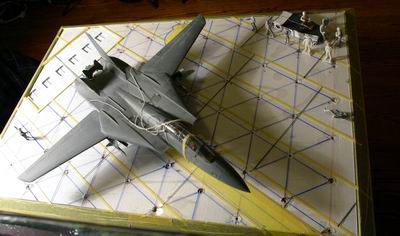 |
もう少し斜め角を和らげたかったが、JBDを作りこんでしまったので、後戻りはできなかった。 I wanted to change the angle of Tomcat a bit left, but it was too late because of the JDB hole. Consider the layout well before you start to work! |
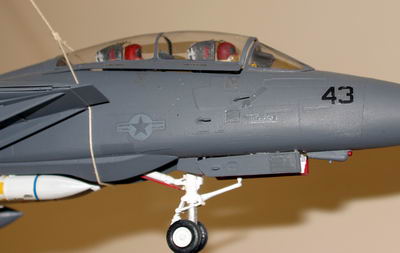 |
上の写真で登場してしまったので、恥ずかしいが、紹介しよう。米国に来た11年前に暇つぶしに作ったタミヤ1/32 F-14A。当時はジョリーロジャースに仕立てられたが、いつの頃だったか、グレーのスプレイで塗りつぶされ、VX-4に変更された。今回のジオラマ製作には影ながら大いに役立ってくれた。 You might have noticed that there is another Tomcat in previous photos. Because she contributed much to this new F-14D diorama, I have to introduce her. She was built about 10 years ago when I was a complete novice at scale modeling. She was painted in the Jolly Rogers scheme at first and then sprayed dark gray for VX-4 several years later. |
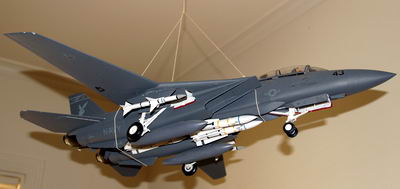 |
一度は捨てられる運命かと思われたが、息子に捨てないでくれと泣いてせがまれ、今は息子の部屋の天井につるされ、埃まみれになっている。 When she was about to be dumped in a trash can, my son tearfully asked me to save her. Now she is hanging over his room with lots of dust on top. |
 |
しかし、タイヤの塗装に失敗し、はずそうとしてゴムにヒビが入ってしまった新キットへのタイヤの提供、翼の回転マークの位置決めをするために鉛筆で翼にマークされた事、また照明ランプ部分を透明パーツに取り替えるため、切り取った後、それを捨ててしまったため、原型がわからなくなり、自分の照明部分を切り取って提供した事など、、ありがとう!君のお陰で新しいF-14Dは今ここにあるのである! Because I cracked a new tire when I tried to remove it from the hub, she gave me her own old tire as a substitute. Her wing was marked with pencil to let me know the position of the rotation limit for drawing the dirt streaks. And because I threw away the light portion of plastic which was cut off from the wings to replace with clear parts, I lost the shape of the light. So she cut herself and gave me her plastic to show the shape. It is because of you, that I've got this new F-14D now! Thank you. |