 |
JDBの製作 Scratch and build JDB |
 |
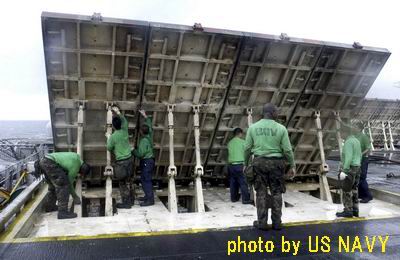
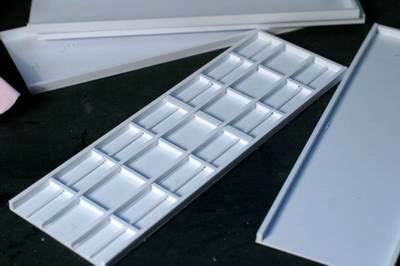
上の写真などを見て人の大きさから寸法を決めた。その後、あるホームページに外寸が載っていたが、ほぼ正確だった。 I drew a blueprint by seeing and measuring the photos like above. Although I happened to get the actual size information later, it was almost precise. |
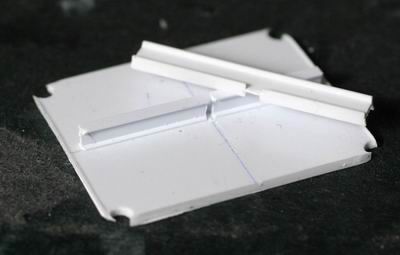 |
裏面のストラクチャーはエヴァーグリーンのIビームを利用した。重なる部分は写真のように切れこみを入れれば、 I used Evergreen's Beam plastics for the rear side structure. If I cut the slit like this, |
 |
うまくはまる。縦と横のビームは少し違うサイズのものを使う。本物は同じ高さではあるが、、 Both beams fit well. Vertical beam is slightly bigger than horizontal beam. The real ones are same size though. |
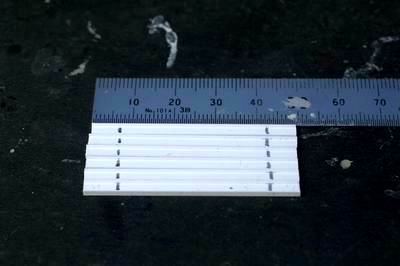 |
冷却パイプを通すため、横ビームに穴をあける。まずは穴位置に印をつける。 To put through the cooling pipe, make holes on the side of the horizontal beam. |
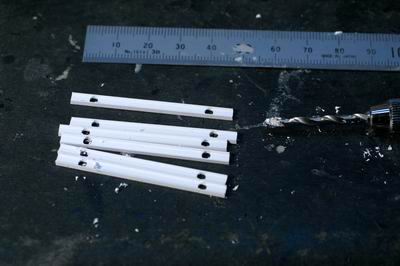 |
ピンバイスで大きめの穴をあける。 Measure the location and then make holes with pin-vise. |
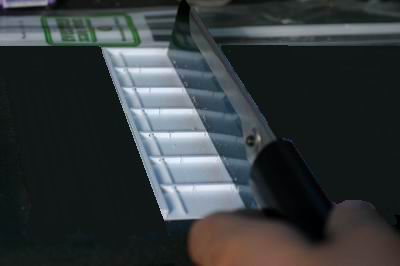 |
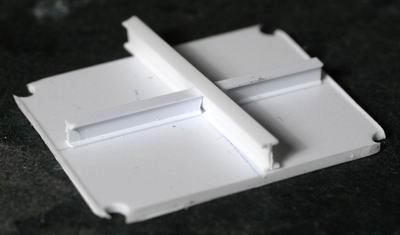
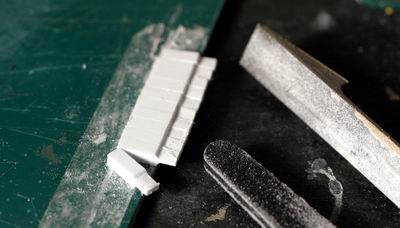
横ビームを接着後、縦ビームを入れるために、のこぎりでスリットを作る。 Glue all horizontal beams and then Cut the slit for the vertical beam with Tamiya's modeling saw. |
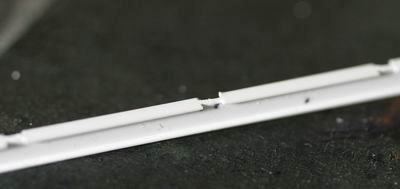 |
縦ビームの下は切り込みを入れないと合わない。 Remove plastics like this in order to fit to the horizontal beam. |
 |
冷却パイプを通して、1枚完成。 Put the cooling pipe. Now I've got one panel completed. |
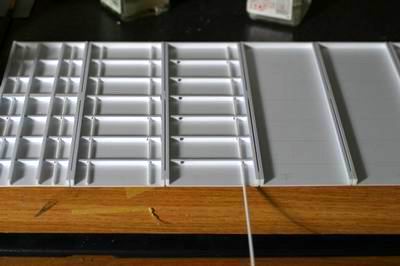 |
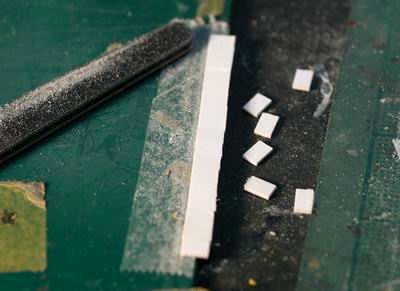
一枚完成したら、枠だけつけた残りの5枚のパネルを接着すると、横ビームの間隔を揃えやすい。6枚の板は間に短い平板を2枚かませ、少し隙間が見えるように接着する。 Once the first one's finished, put all six panels glued together. So that you can easily place other horizontal beams. I put 2 small rectangle pieces as a link between panels. So those pieces make the slight gap. |
 |
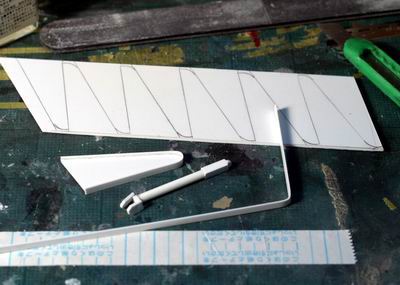
支持アームの製作。 写真は頭部を作っているが、同じ物の形をそろえるには、このように両面テープで固定して、同時にやすりをかけると良い。 Building the arms. These are heads of the arm. Fix them together with tape on panel, so that you can get them level by sanding simultaneously. |
 |
細かい部品は断面が斜めになりやすい、このようにやすりで整形すると直角が得られる。 Same as these parts. These uneven angles can be corrected by sanding. |
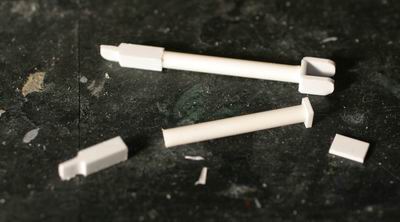 |
角材と丸棒と平板の組み合わせ。 The arm consists of rods and strips. |
 |
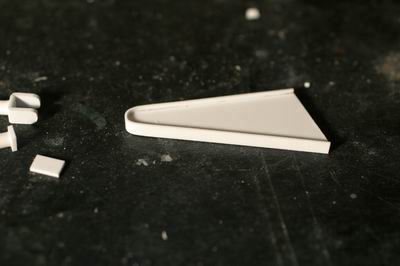
実際の台座はもっと複雑な形状をしているが、作りやすさを優先し、あっさりと簡略化した。 The actual shape of the base is not like this. I simplified it for the ease of building. |
 |
板から切り出した板の周りに薄い平板を接着剤で貼り付けていく。 Cut the shape from Evergreen plain board and then put flat bar strip around the panel with glue. |