 |
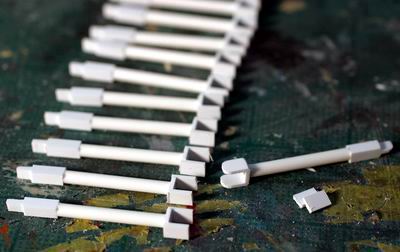
平板の角をやすりで丸くしていく。 Curve the corner with sanding tool. |
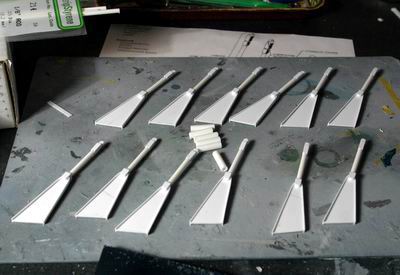 |
台座とアームの間には丸棒の輪切りを入れた。各支柱の角度を揃える。 I put sliced rod into the gap between the arm and the base. It's important to even the angle of arms. |
 |
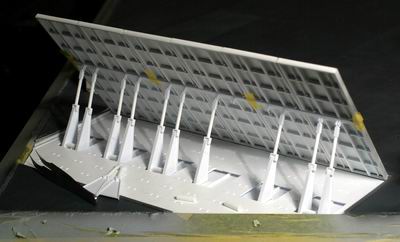
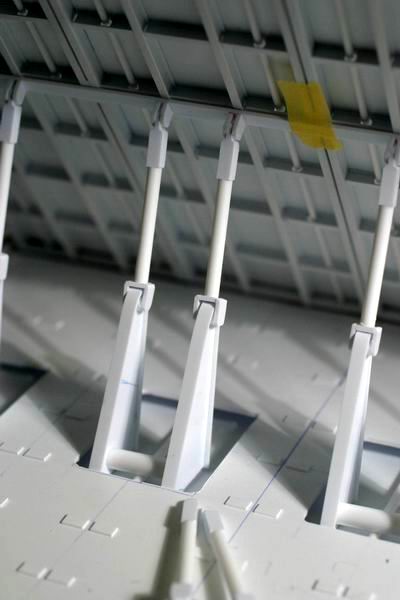
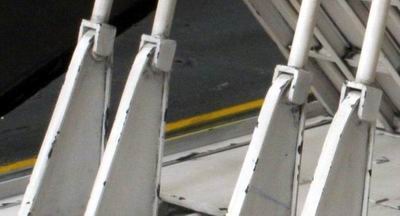
受け口のアップ。ジオラマを移動しやすいように、組み立て式にした。下の写真のように、12本のアームは長細い板で結合し、JDB板の受けを6個所作り、取り外し可能にしている。 Here is the close shot of the joint. For portability, I did not glue them together. As shown in the following photo. 12 arms attached to the long flat bar. I attach 6 receptacles for the JDB. |
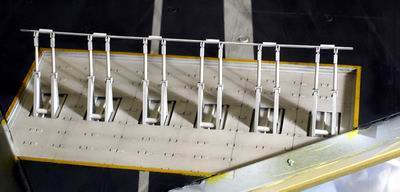 |
アームはジオラマベースにはは接着せずに、下の穴に差込み、JDBを立てかけるだけの構造。 Just insert the arms into the slit and then lean the JDB panels. |
 |
台座のホールダー。真中の丸棒は飾り、左右の角棒で台座をはさみ込んで、位置決めを行っている。 Here is the close shot of the slit. The center rod is just for decoration. Both side bars actually hold the arm base. |
 |
JDBは立てかけているだけ。 Just leaning the JDB panel without glue. |
 |
アップ。 Close up. |
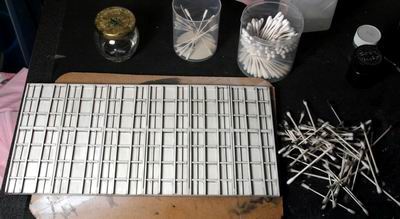 |
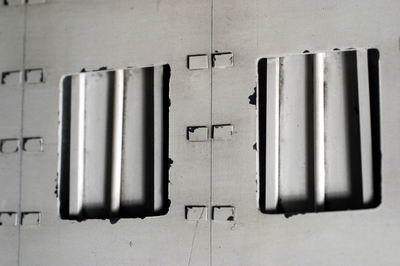
塗装は、白のプライマ-をスプレイした後、Mr.カラーの316番のホワイトをスプレイ、その後エナメル黒でウォッシング、写真は、この板のふき取りに使用した綿棒の数がわかる。 For painting, after spraying white primer, spray Mr. Color 316 white and then apply enamel black wash. You can see how many cotton swabs I used just for this panel. |
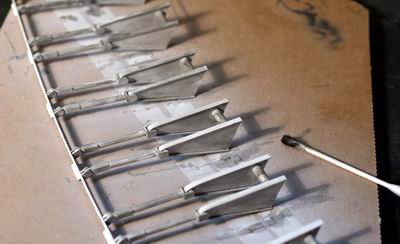 |
アームも同様にウエザリングを施す。 Wash the arms as well. |
 |
最後はエナメルのジャーマングレイで、チッピングを行って完了。 Finally, paint enamel German Gray for chipping. |
 |
完成写真。 Almost finish |
 |
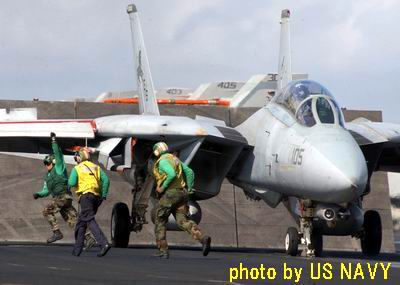
ススは、グンゼのアクリルMr.ホビーの343番のスートをエアースプレーした。 Spray Gunze's Mr. Hobby 343 Soot for jet exhaust. |
 |
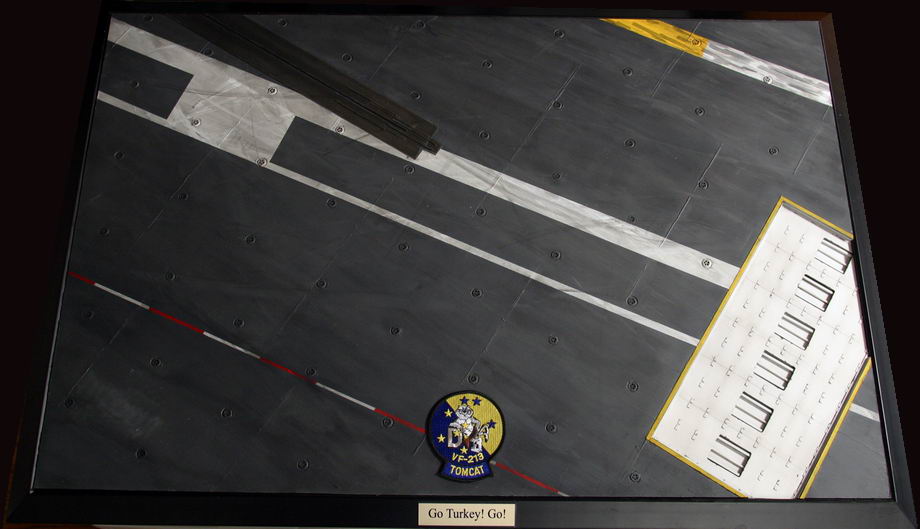
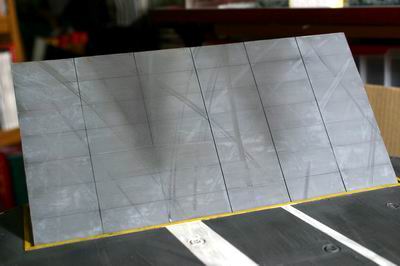
JDBの汚れ具合がわかる写真。 See how JDB weathered. |