 |
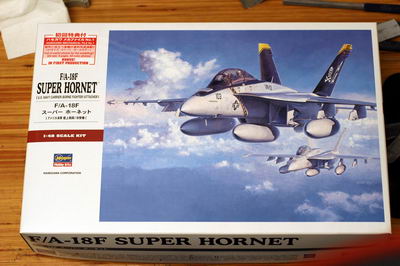
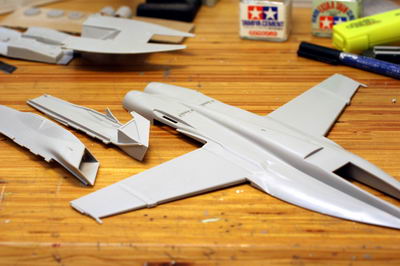
I will build this brand new F-18F kit from Hasegawa with "Out Of Box"
method this time. "Out of Box" means to construct without any
3rd party detailed up parts nor any customization . So it's easy and basic. |
 |
When you cut out parts, don't cut edge of parts, remain some sprue and
sand it. |
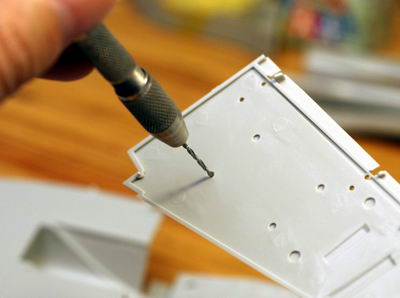 |
Use pin-vice to make a hole. |
 |
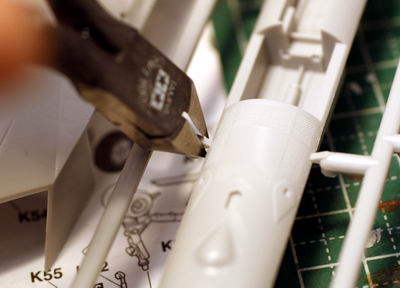
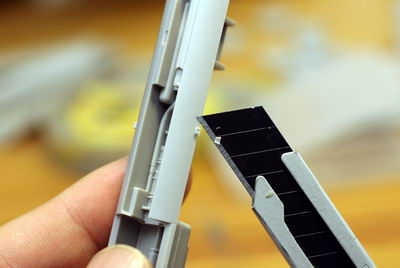
Cut out edges with a knife. I really recommend you to use very thin blade. |
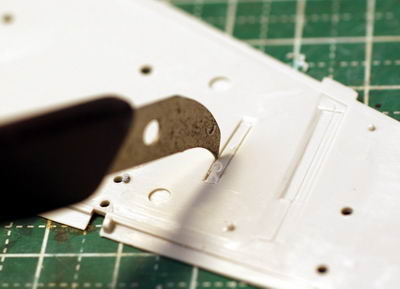 |
In order to make a clean rectangle shape hole, I use Hasegawa's scriber
first, then |
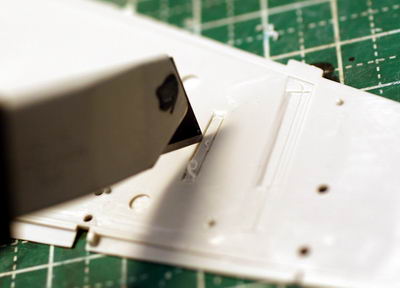 |
use a very thin blade cutter knife. This is a hole for the pylon. |
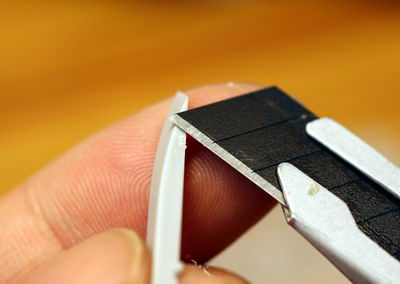 |
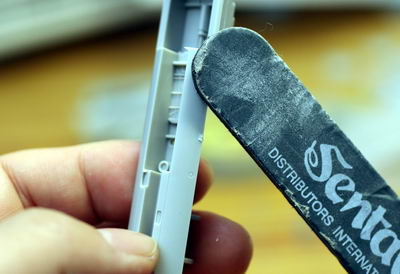
Cut out remained sprue with a knife and then sand it. |
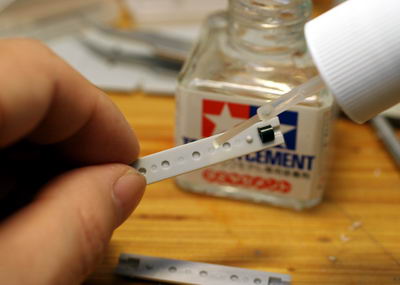 |
I carefully put glue only inside of the surface in order not to go outside
when they are attached. |
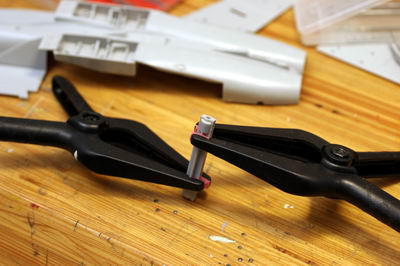 |
I use pegs to make pressure for a few hours. I can't even hold them with
my hands for several minutes. Use tools! |
 |
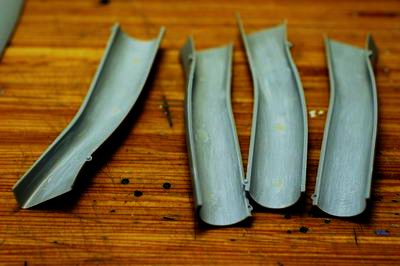
Roughly cut out remaining. Don't cut too much. |
 |
Then I sand it rough, too and leave it. I will sand it clean with higher
number of sands after I glue parts together. |
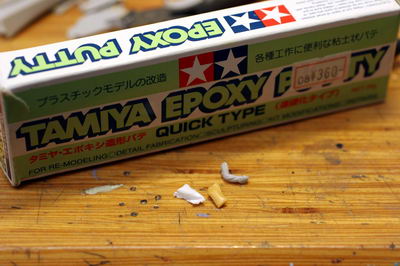 |
I am sorry that I said I will build this kit as "Out of Box"method
though. I made a "I got it" shaped hand with epoxy putty. This
is a only customization, I promise!! |
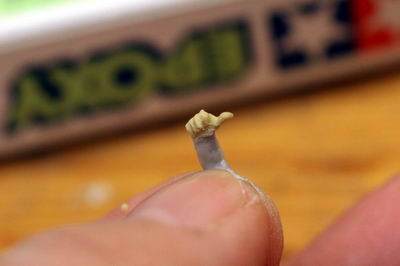 |
I used a toothpick to shape this. |
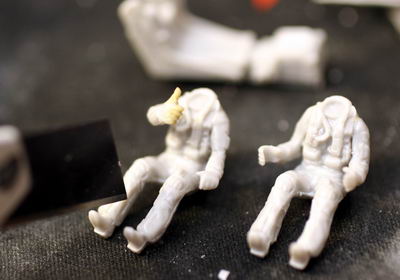 |
The pilot is signing "I am ready to go". |
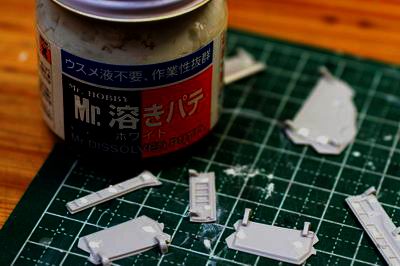 |
To remove "push pin marks", I put Creos's Mr. Dissolved white Putty. This is very handy. I love this product. You don't have to adjust the viscidity. However when you need to thin it, use lacquer thinner. |
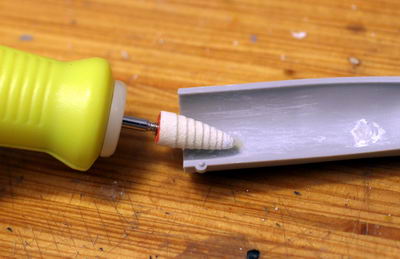 |
I use a motor tool to sand rough for this kind of narrow curved surface. |
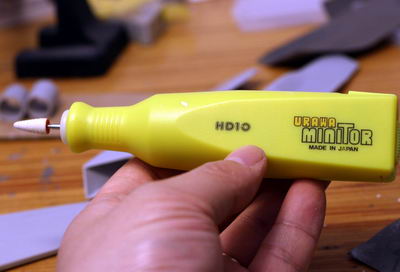 |
I really love this Urawa's "Minitor" . It was developed dedicated
for hobby. I have a Dramel, but it's too much power for soft plastics. |
 |
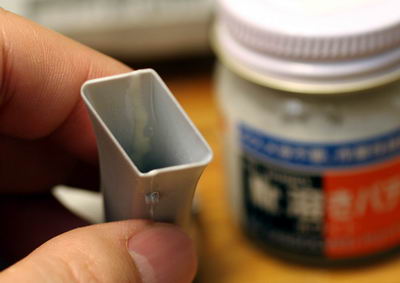
Remove pin marks before glue them together. I used sand papers, #400, #800,
#1200 and #1500. |
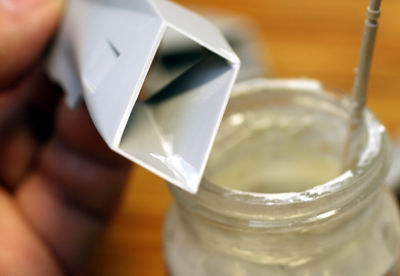 |
Apply Mr. Dissolved Putty to the gap and wait 5 minutes. |
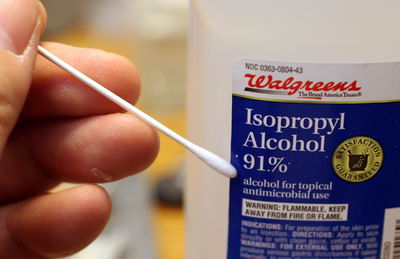 |
Dip a cotton swab into "91%" alcohol. |
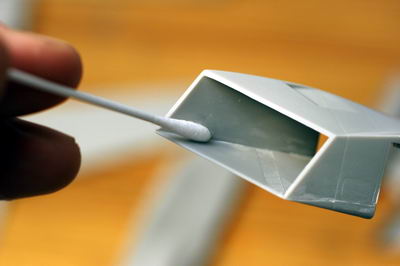 |
Rub the gap. It's magic! you can easily remove excess putty. |
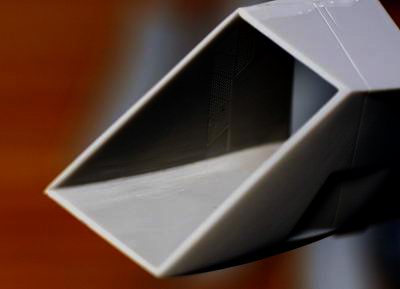 |
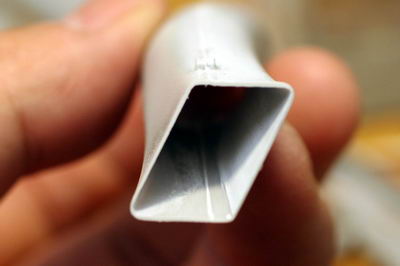
Sand with #1500 paper to clean up. |
 |
Take same magic steps to remove a glued line. |
 |
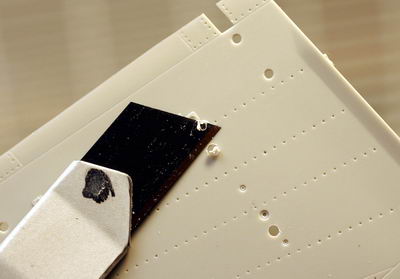
I used a custom sand tool to clean this narrow space. I attach a small
piece of sand paper onto the head of a cotton swab with strong both side
adhesive tape. |
 |
|