 |
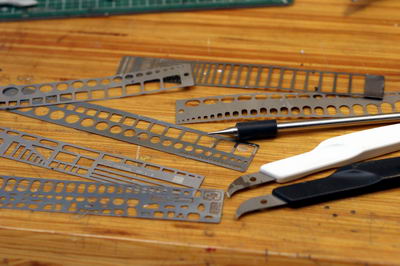
These are tools which I use for scribing panel lines. Hasegawa's Line Scribers,
Hasegawa's templates and Verlinden's. |
 |
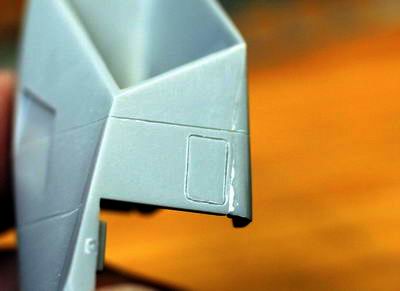
I re-scribe all panel lines to make them more deep. |
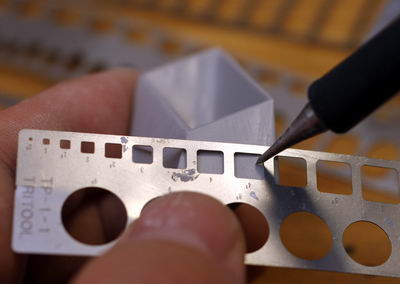 |
I use a template to scribe round corner rectangles. |
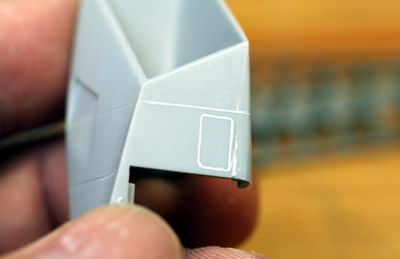 |
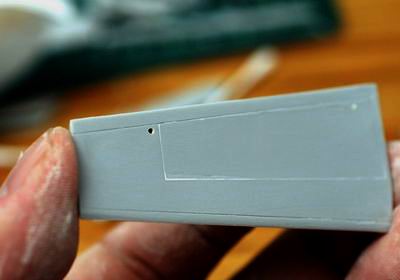
As I sand it after scribing, line seems white with powder. You can just
blow it with |
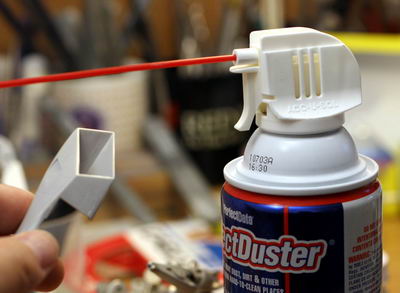 |
an air duster. |
 |
|
 |
make invisible this attached lines. |
 |
After clean marks and lines, let's start painting work. |
 |
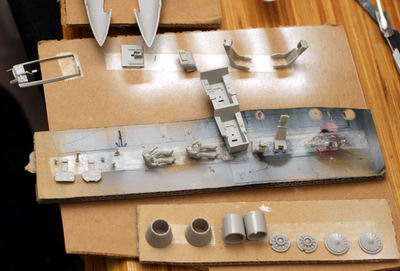
Hold parts on a cardboard with both side adhesive tapes. |
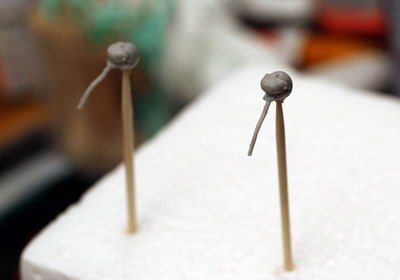 |
I drilled a hole under the head and put it on a toothpick.. And stick them
on a polystyrene foam. |
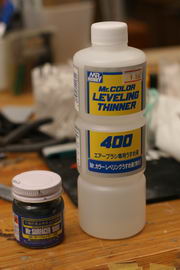 |
I thin Mr. Surfacer 1000 with Mr. Leveling thinner which is lacquer for
air spraying. I always determine the thin ratio by observing viscidity.
However I would say paint: thinner 1:2 respectively. |
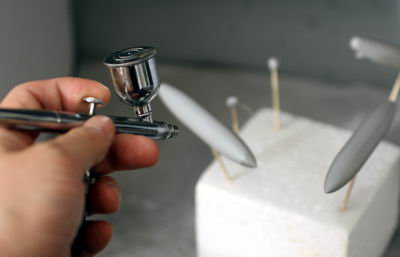 |
It's better to use a hand piece instead of a spray can for "Primer".
Because as thin as it get is best for scale models. The role of primer
is 1. to make tiny scratches invisible, 2. to make good surface for painting
and 3. to find invisible scratches or uneven putty works. |
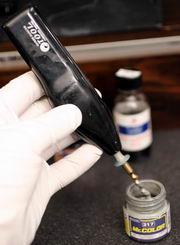 |
Before use paint, mix well. I use a mixing tool. |
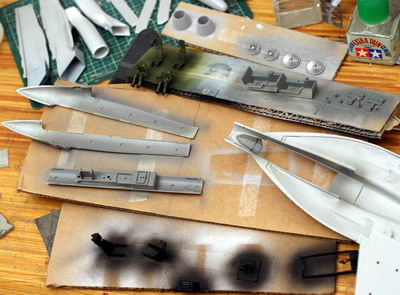 |
I organize parts for air spraying. Put parts painted same color on a same
cardboard. |
 |
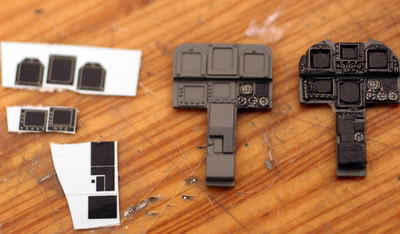
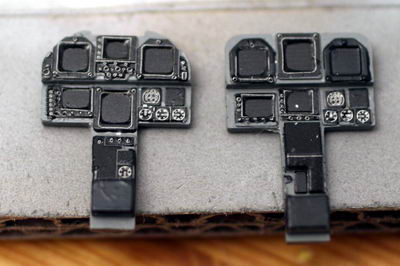
As the instruction, I use decals for cockpit. |
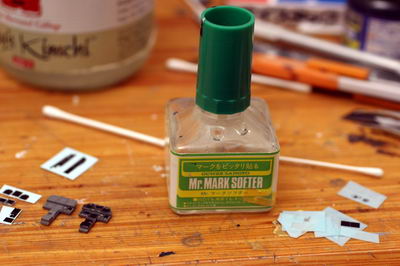 |
To put decals on uneven surface, use Mr.ark Softer to fit completely. |
 |
Apply Mr. Mark Softer on the surface before putting a decal. Put a decal
and gently put pressure with cotton swab. Push all air between the decal
and the surface out. Apply Mr. Mark Setter onto the decal and wait roughly
one minute. Push gently with cotton swab again. If you forget to remove
Mr. Mark Softer within one minute, the decal would melt and you would have
to buy another kit. So be careful to use it. |
 |
I successfully put these decals on the parts. However I accidentaly melt
all decals for RIO seat. So I said be careful!! |
 |
It doesn't seem like decal. |
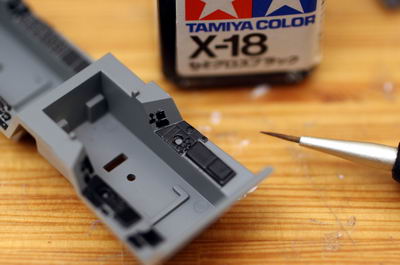 |
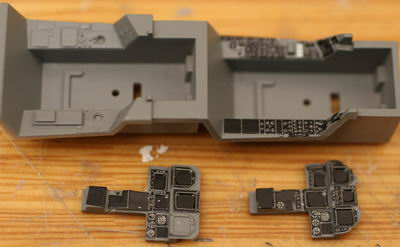
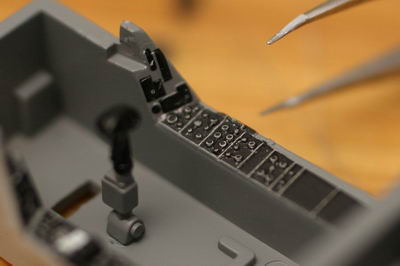
For RIO seat, I painted with enamel black. |
 |
I touched up with enamel paint. |
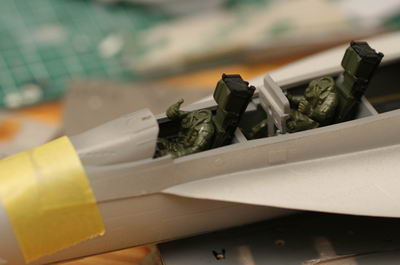 |
Confirm every parts fit. |