 |
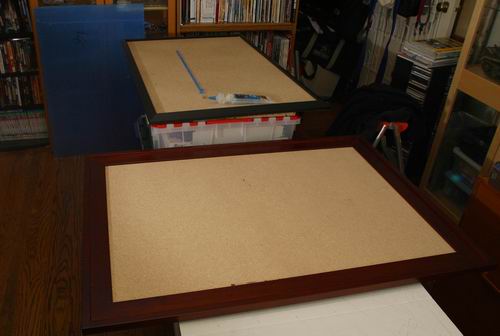
さて、いよいよ海の製作に入る。ベースは写真用の既成フレームを利用した。サイズは36x24。枠に1cm厚の木の板をはめ込み。奥はF-14D用のベース。 Now we jump in the sea. I used a photo frame for the base. Size is 24x36. Put 10mm thick wood board into the frame. Black frame is for the F-14D diorama.スでダブルクリックして、文章を入力してください。 |
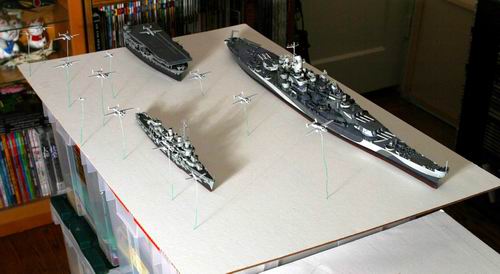 |
オリジナル配置プラン。B25Bが飛び立っていくところを両側の船が見守るという設定であった。 This is the original plan. The Missouri and Fletcher are set aside to protect B-25B. |
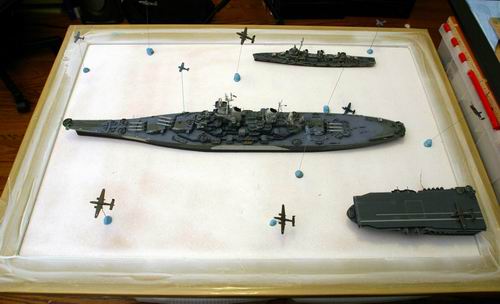 |
最終的にはこのような配置になったが、飛行機をどう配置するかは最後まで悩んだ。この段階でフレームをマスキングし、白のプライマを吹きかけた。 This is the final plan for ships, however I positioned the planes at the last moment. |
 |
海の製作は始めてであったので、試行錯誤を繰り返した。当初は3層構造でいくことにしたが、最終的に4層となった。基本的なアイデアは、やり直しがきくように、真ん中に透明のアクリルボードを挟んで、海底と海面の色を分離することである。 I went through a lot of trial and error to create the color and combination of colors. My first plan was to set 3 layers for the sea. Accordingly, it became 4 layers. The basic idea is to put clear board between bottom and top of the sea to separate the colors so that I can change the color easily. |
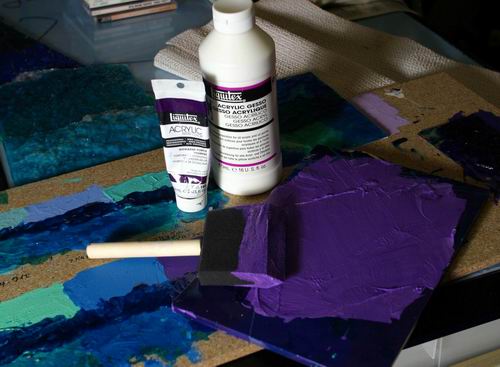 |
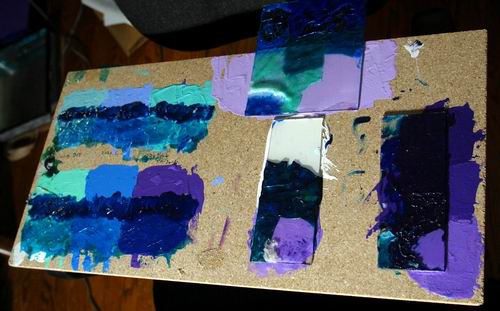
塗料は、海面製作でよく利用されるリキテックスを使った。試行錯誤の結果、海底の色はデキサントパープルにジェッソ(下地材)を混ぜて作ったが、配合に注意しないと真っ黒になってしまう。 I choose Liquitex, because it has been mentioned many times in scale model related magazines and website. After many trials, I decided Dioxazine Purple with Gesso for the bottom color. Too much purple may results in black, so be careful. |
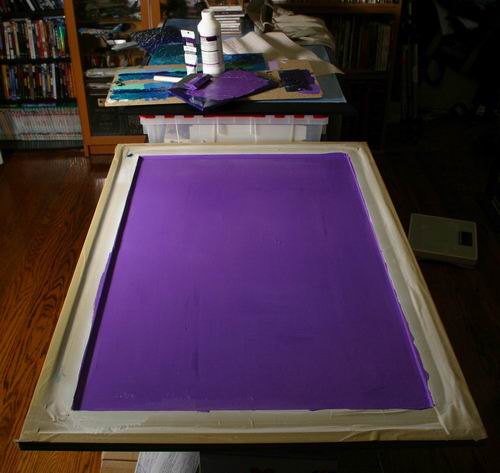 |
海底の色を筆で塗った。適度にむらがあった方がよい。 I hand-painted those purple. Unevenness is good for the sea. |
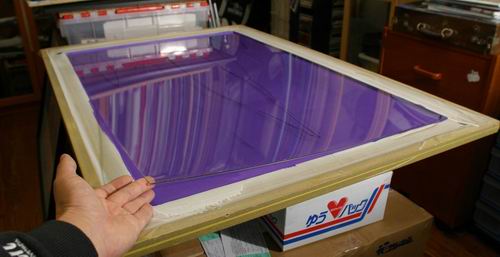 |
この上に透明アクリルボードを置く。プレキシグラスを使った。 Just put the Plexiglas as the second layer. |
 |
この透明板の上に波を付けていくのである。 Mold waves on this clear board. |
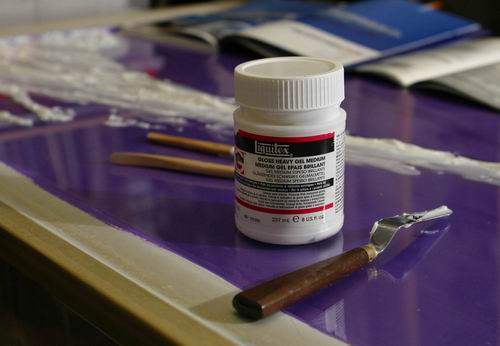 |
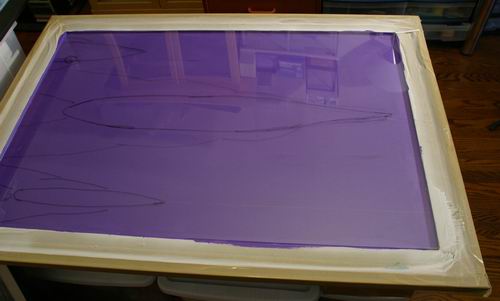
まずは大きなうねりをリキテックスのジェルミディアムで造形する。ジェルは粘性があり白いが約1日でゴムのように硬化した後は透明になる。 I used Liquitex Gloss Gel Medium for the big wave. It's white gel, but get clear and firm like rubber after 24 hours. |
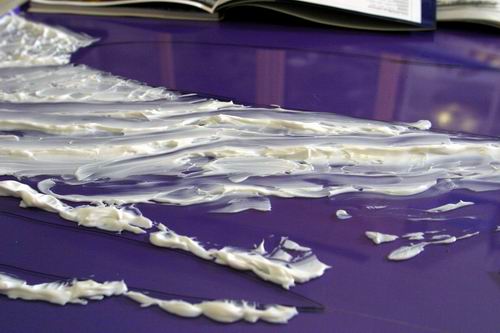 |
最初は船の航跡を造形。 Mark ship trail first. |
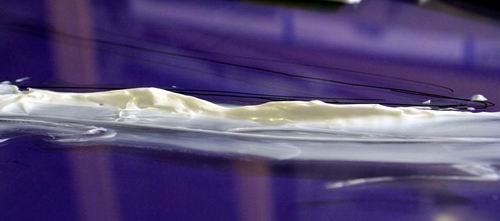 |
波頭をもりあげる。 Put more gel on the top to avoid shrinking. |