 |
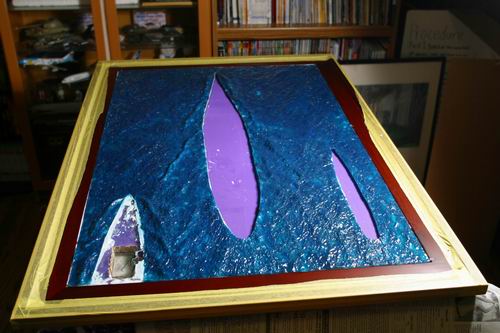
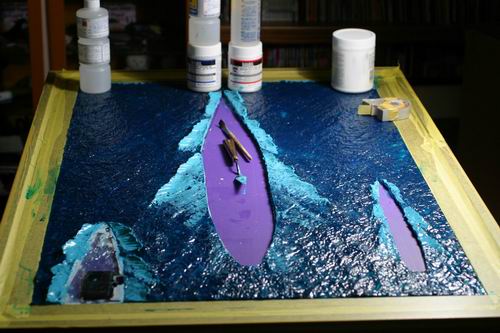
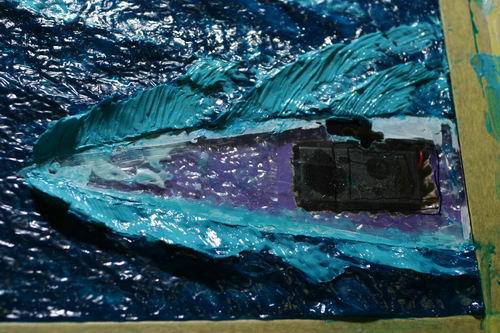
波板シートの船体がはまる所を切り取る。ホーネットの下は電池ボックスが入るように四角く切り取ってある。 Cut the ship portion of the wave sheet. You can see that battery box hole under the Hornet. |
 |
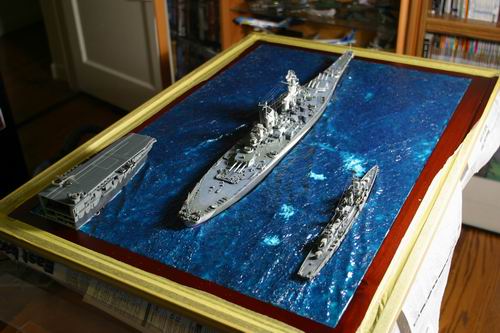
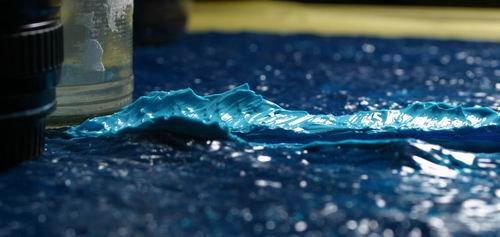
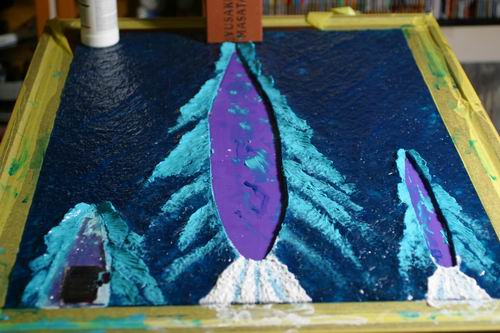
写真ではわかりくいが、波板シートが反射して海の深みが出た。 It's hard to see in the photo, but the ray is actually reflected and refracted by the Wave Formed Sheet. |
 |
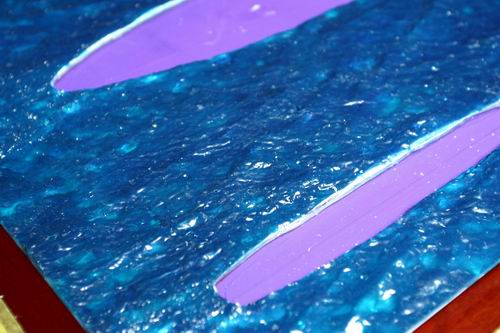
船が入るように穴をあけたつもりだったが、あっちこちらで引っかかり、結構穴を拡大した。 I thought the hole was big enough hole for the ships, but it was too tight. I cut it wider. |
 |
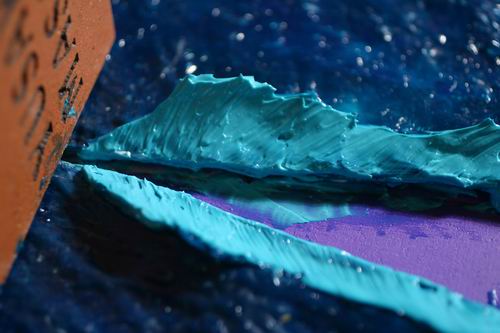
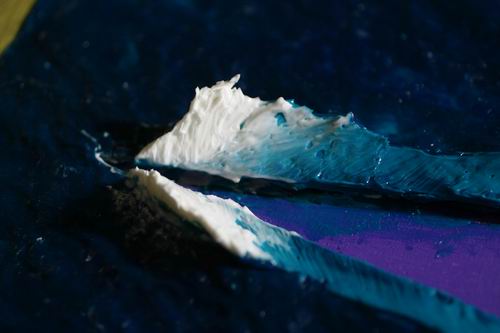
波頭の形成。メディアムジェルを盛り付け、筆で波線(?)をつける。 For the front wave, I brushed more gel. Leave the lines created by brushstrokes. |
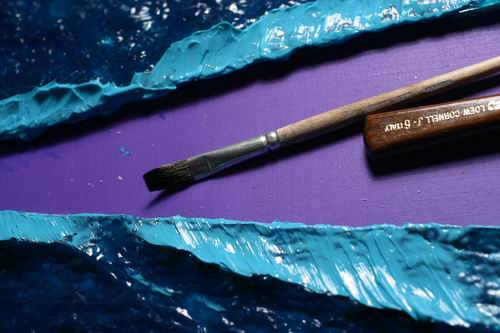 |
筆はやわらかめの平筆を使った。硬いとジェルが削られてしまう I used soft brush to avoid chipping off the gel.ここをマウスでダブルクリックして、文章を入力してください。 |
 |
こんな感じ。 Almost done! |
 |
頭のところは思いっきり盛り上げる。乾燥するとかなり収縮してしまうので。 As it dries, it shrinks. Brush the gel higher than expected. |
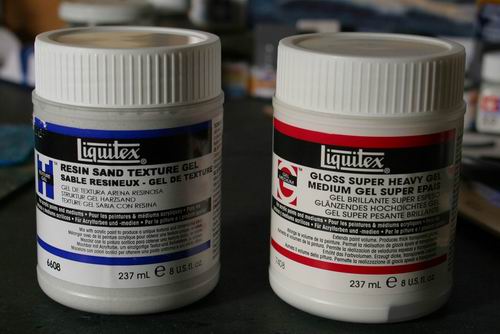 |
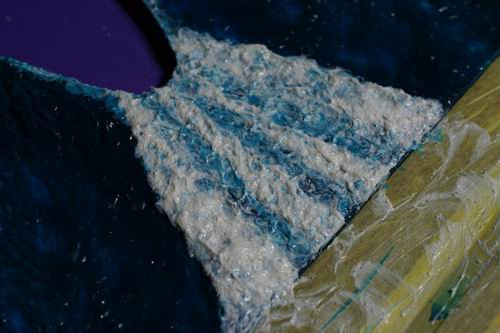
波しぶきは、同じくリキテックスのレジンサンドに白をほんの少し混ぜ、スーパーヘビージェルをベースに盛り付ける。 For the wake, I used Liquitex Resin sand Texture Gel mixed with Gel Medium and white bit. |
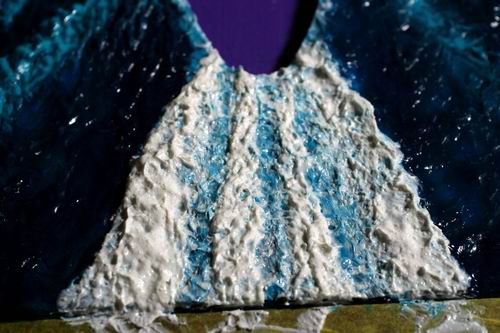 |
筆を直角にし、上からたたくように。 Put those gel by dabbing with the brush. |
 |
ちょっと白すぎるが、硬化すると透明になる。 It too white now, but it's OK because it turns transparent later. |
 |
ある程度硬化したら、さらに盛り上げる。 More gel on it! |
 |
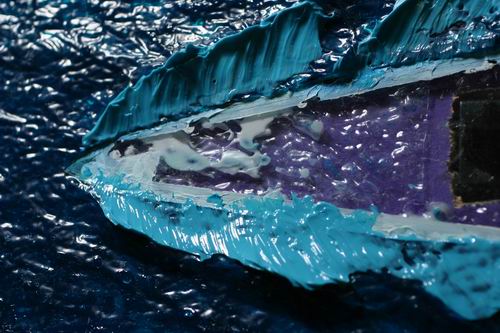
ホーネットの波頭。どう形成するかルールはないので、実物の写真を参考に自分なりに仕上げるしか方法はない。 These are the waves from the Hornet. I made the wave formation by using photos of real waves for reference. |
 |
今度は塗料が含まれていないジェルメディアムを盛り付け、波頭の先の透明感を形成する。 Put genuine Gloss Gel Medium on the top of the wave. It turns transparent to express the water. |
 |
硬化して状態。ほどよく白が残る。 After several hours, it turned transparent and got nice looking.. |