 |
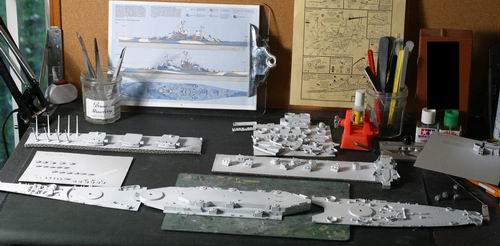
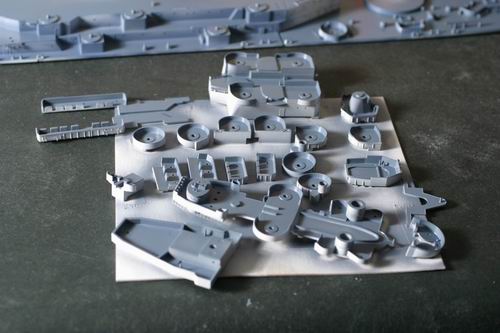
各部品は段ボールに両面テープで固定。白のサーフェサーを全体に吹く。 Tape all parts to the cardboard for spraying primer. I choose white primer, because one of the camouflage color is white. |
 |
同じ色で塗るパーツは一箇所にまとめると、後でエアーブラシ塗装が効率的。 It's more efficient when spraying if all the same color parts are painted together. |
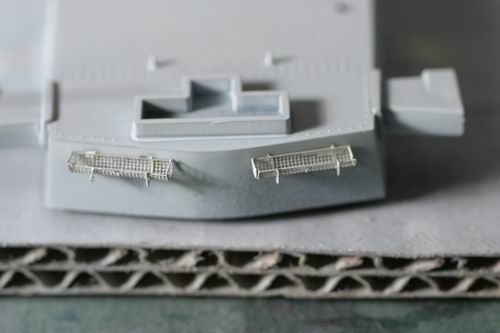 |
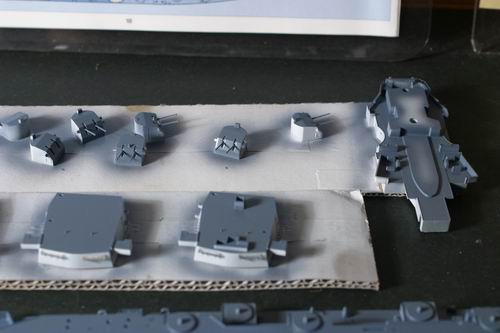
主砲のうしろには、救命具用のバスケットを付けた。 Put the etched floater net baskets behind the gun canon. |
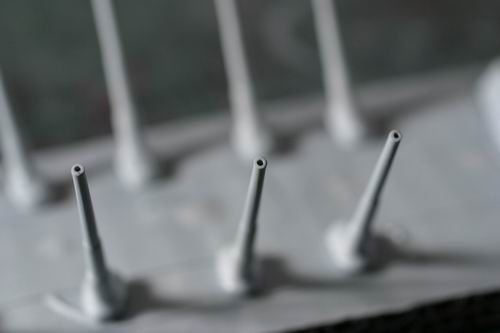 |
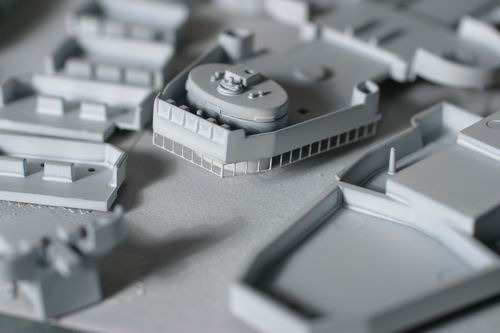
主砲はピンバイスで穴をあける。はじめにカッターナイフで十字のしるしをつけると穴位置が決めやすい。 Make hole with pin vice. It's easy to locate the center position if you mark a cross with cutter knife before making the hole. |
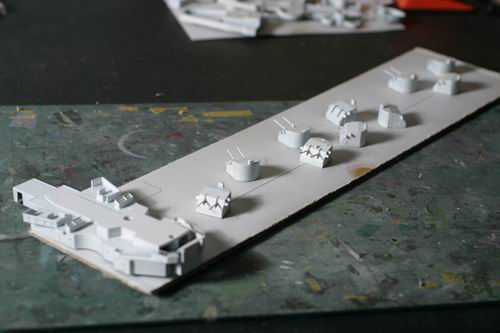 |
カモフラージュ塗装なので、できるかぎり部品レベルで塗装する。 For camouflage painting, it's easier to paint individually. |
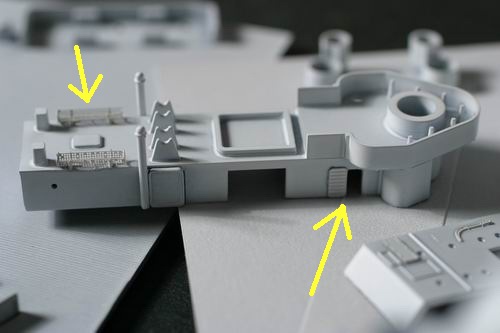 |
右下のドア部分の開口とエッチングドアの接着、バスケットの変更などのディテールアップ。 Make a hole for opened door and glue etched door. I put 2 floater net baskets here. |
 |
艦橋の窓をエッチング製品に交換した。 Switched to etched windows. |
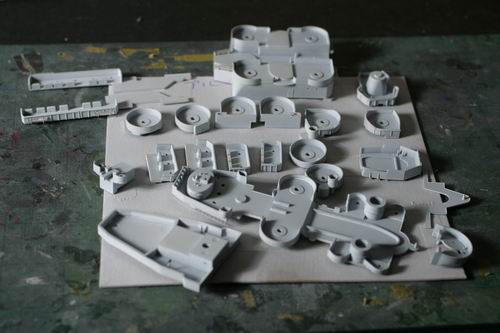 |
プライマ処理が終わったら、傷やほこりを取り除き、塗装の準備を行う。 After priming, check any scratches or dust on the surface. |
 |
最初の塗装作業の開始。まずは甲板色を真上から吹き付ける。側面にできる限りかぶらないように配慮する。塗装はラッカー系が良い。後のエナメルウォッシングにも強く、お勧め。 Paint first color for the deck. Spay straight from top to avoid painting the sides. I used lacquer paint because it stands up well to enamel washing later. |
 |
デッキブルーの調合はボックスの側面のカラーを参考に作った。 I mixed the colors for the deck blue by referring to the illustration on side of the box. |