 |
前脚格納庫。エナメル黒でウオッシング後、ラインのモールドにエナメルフラットブラックを筆塗り、部品をクロームシルバーで塗装。 Here the forward wheel bay. After an enamel black wash, I brushed themolded cables enamel black, and equipment items in chrome silver. |
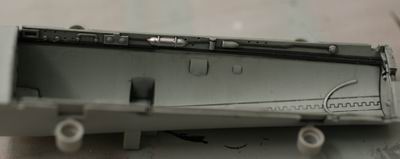 |
反対側 Here same seen from the opposite side. |
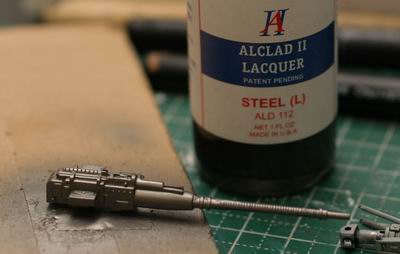 |
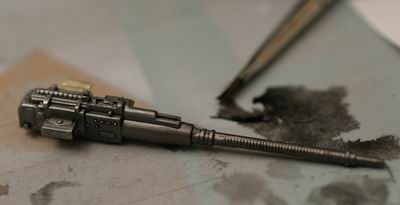
マシンガンはアルクラッドのスチールをエアーブラシ。 I airbrushed the cannon overall Alclad Steel. |
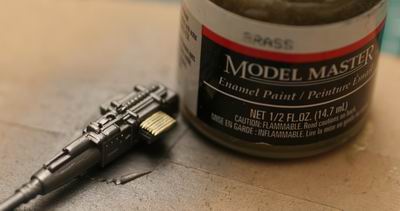 |
銃弾はモデルマスターのブラスを筆塗り。 The shells I hand-painted with Model Master Brass. |
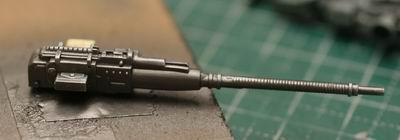 |
こんな感じ、少し光りすぎている。 This is the result, a little too bright for my taste. |
 |
エナメルフラットブラックでウオッシング。 So I applied a wash of enamel flat black. |
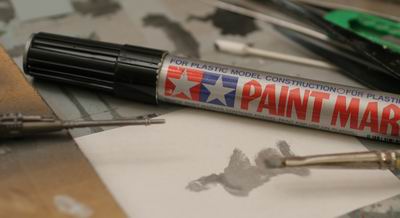 |
タミヤペイントマーカー銀でドライブラシ。 Then I dry-brushed using a silver Tamiya Paint Marker. |
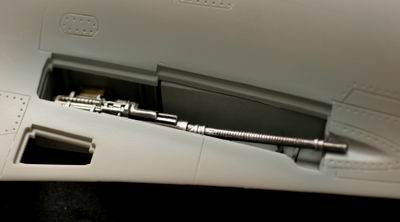 |
写真は光の反射で光り過ぎているが、実際はもっとフラット。今度写真を撮りなおそう、、 Here is the result - the photograph is a little too bright owing to the reflection, in fact the piece is more flat than apparent. I will try to replace this photo witha better one later... |
 |
やっと胴体の接着。とにかくでかい! At last I could glue the fuselage together! It's a big beast. |
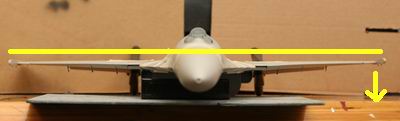 |
この時、気をつけなければならないのが、主翼の傾き。後からは取り返しがつかないので、しっかり対象を出そう。 At this point the important point to watch is the angle of the wings. It will be impossible to rectify this later, so make sure now. |
 |
開閉のギミックはうれしいのだが、やはり閉めたときに、ぴったりこない。開けておいてもフランカーの流れるようなボディーラインが死んでしまうので、いっそのこと閉固定とした。隙間は瞬間接着剤をてんこ盛りし、削りだす。瞬着でないと、後でラインを彫るときにぐちゃぐちゃになってしまう。 I am always happy to see parts that can be fitted in the open or closed positions, but unfortunately they have a tendency to not fit well when closed. Since I fell that open hatches and the like completely kill the Flanker's beautiful lines, I position all parts closed. I filled gaps with instant glue, sanding away excess later. If you do not use instant glue, things will get sticky when you attempt to rescribe the panel lines. |
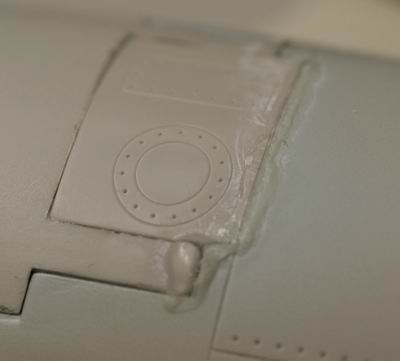 |
てんこ盛り Here a mound of instant glue. |
 |
サイドはきれいなラインが出ているので、前後両端のみ彫りなおす。 The fuselage sides have beautiful lines, so the only scribing corrections are at the nose and tail areas. |
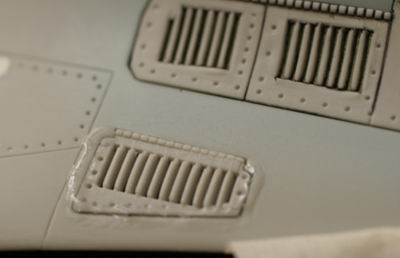 |
ここは初めから閉固定だが、隙間が大きい。瞬着で同様に加工する。 This part is molded closed, but the gaps are overly large. I use the same method with instant glue to fill these. |