 |
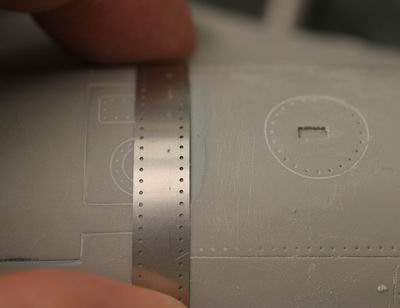
180番程度の荒いやすりで瞬着の山を大方削り、表面に近くなったら320番、600番、1000番と使い分けて表面をきれいに整える。あとは、テンプレートとスクレーバーでラインを彫りなおす。 With a file corresponding to perhaps 180GSP I reduced the mound of instant glue, and when it approached the surface I changed to successively 320, 600 and 1000GSP to create a smooth finish. Thereafter, a template and scriber sufficed to redo the panel lines. |
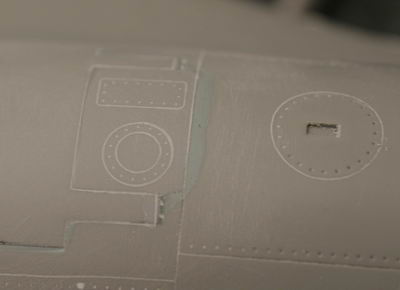 |
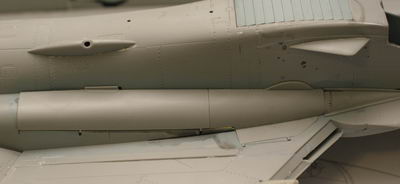
エアーブレーキの付け根の大きくあいたギャップ部分は穴の部分を掘らずに手前のプラスティック部分にラインをずらす。 The large gap around the root of the airbrake was filled and a new panel line scribed forward of the joint. |
 |
左主翼付け根部分処理後。黒いラインがもとのつなぎ目、すぐ横の白いラインが新しいパネルライン。 This is the left wing root after finishing. The black line indicates the position of the original joint, while the white line immediately next to it is the new panel line. |
 |
これがブルーグレーの塗り残し部分。エアーインレットを接着する前に塗装しておけばよかった。マスクして、、 Here is the left-over section that should have been painted in blue-gray. I masked it, ... |
 |
エアーブラシ。 ... and air-brushed. |
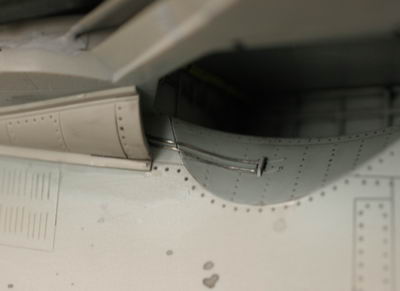 |
2本のコードのモールドは継ぎ目が合わなかったので、上から半田線を設置してモールドを隠した。 The two molded-on cables did not meet across the adjoining parts, so I laid solder across them and removed the original molded cables. |
 |
塗装のため一旦足カバーをはめ込む。左上の突起部分が合わない。固定は内側で両面テープを使った。 In order to faciliate painting, I temporarily fitted the gear bay doors. The uper left projection did not mate well with the bay, so I had to support it from the inside with double-sided tape. |
 |
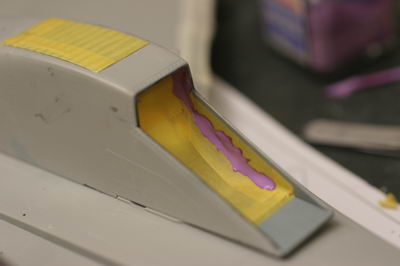
前脚格納庫、中にティッシュをまるめて入れて、マスキングテープを貼り、隙間はマスクゾルで埋める。 The front wheel bay: I filled the interior with tissue, placed masking tape over that and filled the edges with Maskol. |
 |
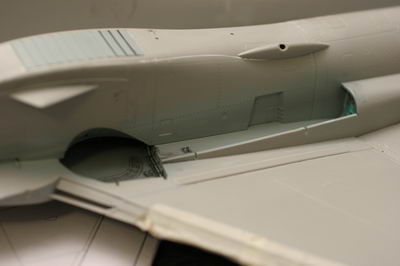
実機写真によるとインレット内側は迷彩色が一部中まで写真のように塗られている。 Photos of the real aircraft indicate that camouflage extends slightly into the interior of the air inlets, so I masked accordingly as shown here. |
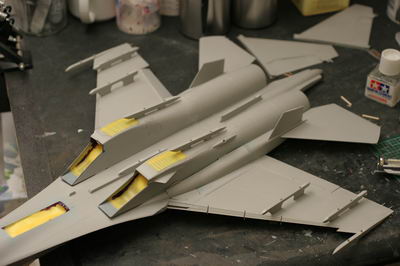 |
塗装色が同じパイロン、安定翼を装着。パイロンと主翼、胴体との隙間はマジック手法を使いパテで埋める。 Pylons, stabilizers were attached at this point, since they would be camouflaged too. The gaps between pylongs and wings or body were filled with the magic method using putty. |
 |
ノーズコーンのライン引きなおし。 I redo the nose cone panel line. |
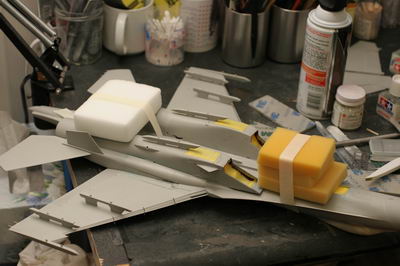 |
上面の作業のため下面にスポンジを固定。 While working on the upper surface, I attach sponges to the lower surface. |
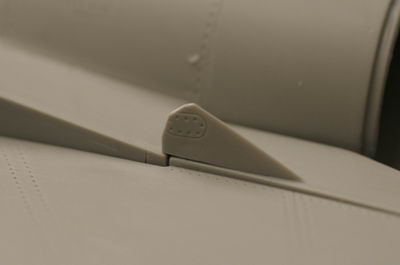 |
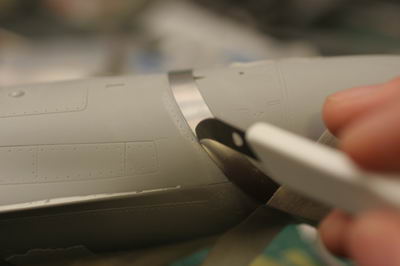
垂直尾翼根元の整流板(?)は高すぎてフィットしないので見えない部分を削って調整しておく。垂直尾翼は胴体側のオス部分の幅が広くて合いが悪いので、メス側(尾翼側)をカッターを立てて広くしてやると、うまくフィットする。 The boundary layer flow controller at the base of the vertical stabilizer is too high, and would not fit. So I cut pieces that would not be seen and fitted it. The male joint for the vetical stabilizers, on the fuselage, were too side and the fit was therefore poor. I opened up the corresponding female joint on the vertical stabilizers with a cutter, scraping the a vertically-held blade until the mating was perfect. |