 |
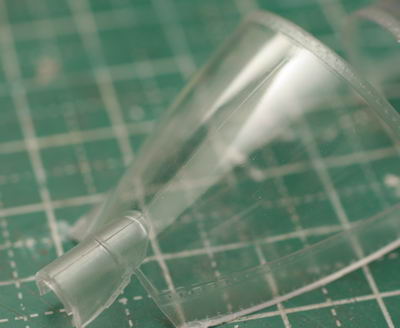
キャノピの線消し作業 Removing top center line from the canopy. |
 |
まずはカッターをたてて荒削り Roughly shaved off with cutter knife. |
 |
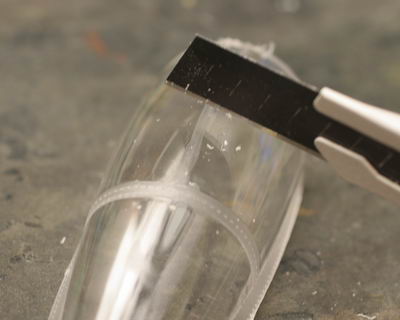
600番から2000番までを順にかけていき Sand there from #600 to #2000 sandpaper gradually.y. |
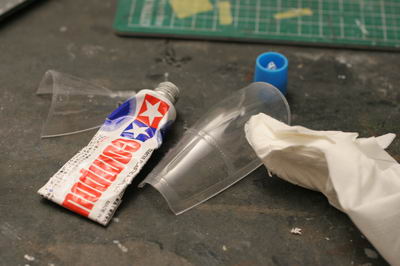 |
コンパウンドをティッシュにつけ磨く Rub with a tissues paper with Tamiya compound. |
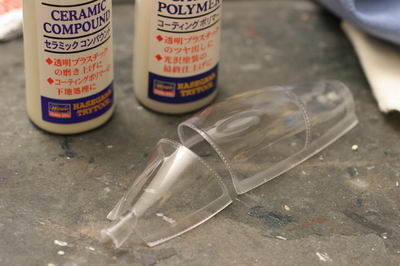 |
さらにハセガワの透明部品磨き材を靴みがきの布につけて磨き、最後に透明部品仕上げ材をハセガワの青い専用クロスにつけて磨くと Finally, I used Hasegawa's ceramic compound and the coating polymer dedicated for the clear parts. |
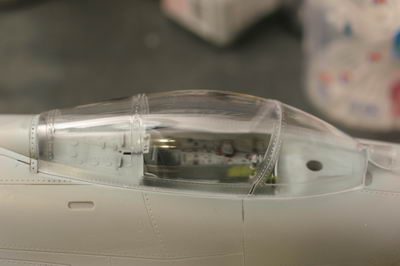 |
ピッカピカ Ultra shine!! |
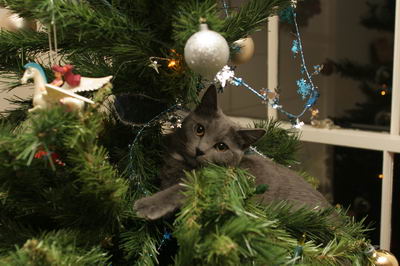 |
ケイト 6ヶ月 Kate 6 months old. She likes to climb a Xmas tree. |
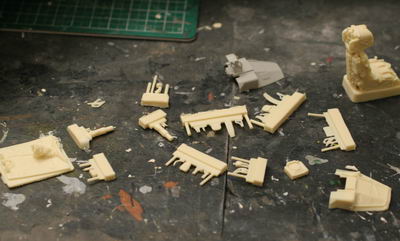 |
シートに取り付けるレジン部品群。食器洗剤とクレンザーを電動歯ブラシにつけて離型剤を除去する。 Many parts for the seat. I used a motor toothbrush with dish-washing liquid and cleanser to remove the mold release agent. |
 |
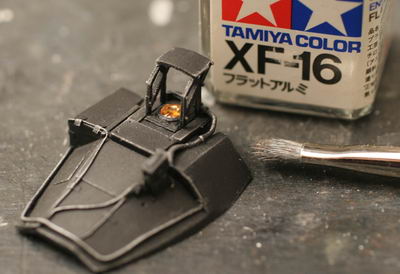
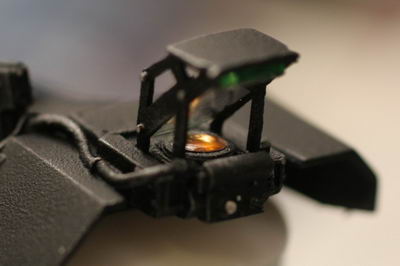
HUD用レンズには鉄道模型用のLVレンズのアンバー色をはめ込む。 I used amber LV lens from railroad model stuff for the HUD lens. |
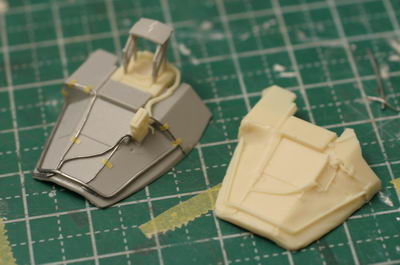 |
レジンフードは横幅が広すぎてキャノピと干渉してしまうので、オリジナルパーツをディテールアップして使う。配線はハンダ線。配線の固定はマスキングテープ。 The width of resin parts is too wide to fit the canopy. I used original base parts and detailed it up with lead wires and masking tapes.. |
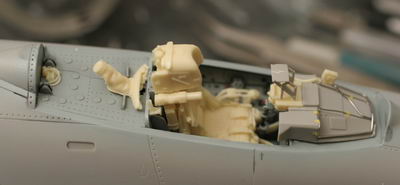 |
レジン部品利用箇所 I used Blackbox parts as shown in this photo. |
 |
クレオスの新色N0.185真っ黒をエアーブラシして、エナメルのフラットアルミでドライブラシ Air-brush Creous new super flat black color No.185 and then dry-brush with enamel silver. |
 |
かすかに緑になってるのがおわかりになるだとうか? レーダー反射パネルの上と下の側面をエナメルクリアーグリーンで塗ってある。 You may notice the green. I painted the top and bottom sides of the clear panel with enamel clear green. |
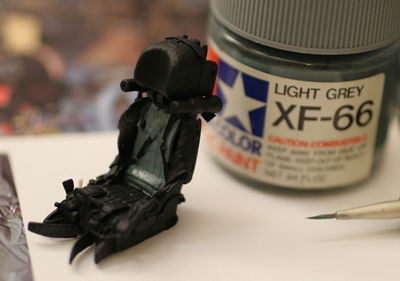 |
クッションはライトグレー Light Grey for the cushion |
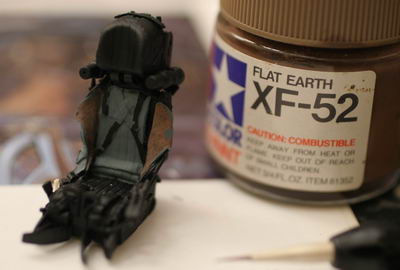 |
クッション裏地はフラットアース Flat earth for the reverse side of the cloths. |
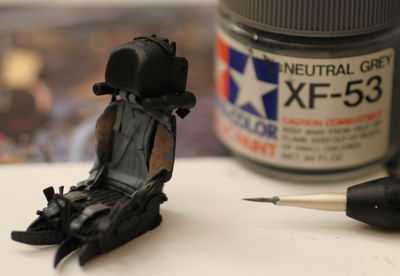 |
シートベルトはニュートラルグレイ Neutral Grey for the seatbelts |
 |
バフや赤などを入れて下塗り完成 Completion of base painting with red and buff. |