 |
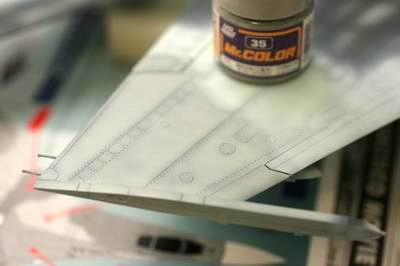
2色目はMr.カラー 35番。 I use Mr. Color No.35 Gray for the 2nd color. |
 |
同じ要領で2回塗り。 Air-brush 2 times as same way of the 1st color. |
 |
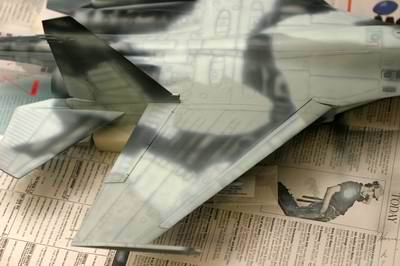
1色目との境界は、細吹きでじっくり塗りわける。特にマスキングなどは行わず、フリーハンドで一気に塗った。ただし、エアーブラシを吹く方向には注意する。1色目側から吹くと、1色目上にしぶきがかからなくて綺麗に仕上がる。しかしながら3色終了後に境界だけ濃い目の色で吹きなおすので、あまり神経質になる必要はない。 I don't take any masking method for camouflage painting. I distinguish the boundary by just air-brushing with a super fine air-brush. But I don't air-brush from the opposite side of the first color in order to avoid splashing the paint on the first color. However I will redo boundary later, I do not take extreme caution for brushing. |
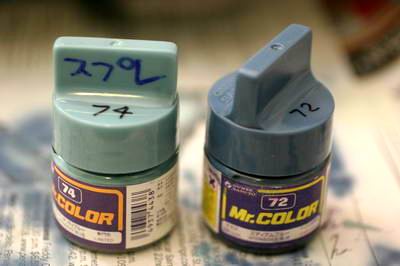 |
Day14で3色目はMr.カラーの74晩に決めたのだが、実際に少し塗ってみたら、72番の方が合っている事がわかり、3色目は72番に変更した。 Big change announcement! I once decided third color for No.74. However after the air-brushing this color, I have switched to No.72. Because 74 is too bright for Flanker. |
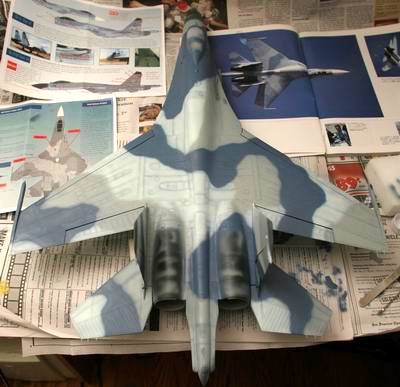 |
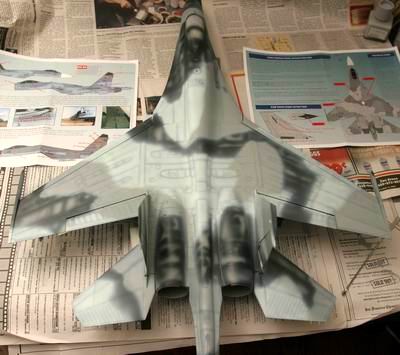
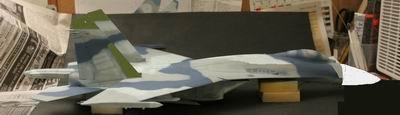
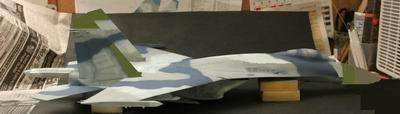
基本的な塗り分けは完了。314番は1本と半分程度消費。35番と72番はビン半分程度使用。 I consumed 1.5 bottles of No.314, half bottle of 35 and half bottle of 72 so far. I still need to finish up later. |
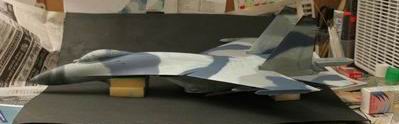 |
側面。 Side view. |
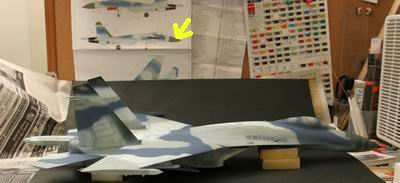 |
さて、ノーズと尾翼トップの色をどうするかを決める。緑がいいか白がいいか。私はあまり実機を気にしない。カッコいい塗装にしたいというのが私流。ここでコンピューターの登場。以下の5枚はグラフィックソフト上でバリエーションを試している。緑色は矢印の塗装図の緑を"eye
dropper"で選択。 At this point, I would like to decide the nose and tip of the vertical wing's color. I basically don't care of actual fleet. I like "cool" color. That's my way of scale modeling. Following 5 photos were generated by computer graphic software as references. The yellow arrow in this photo shows the color I picked with "eye dropper" tool for flunker green. |
 |
迷彩パターンも気に入らないところをお絵かきツールでシュミレーション。 This photo shows the adjustment of camouflage scheme. It's difficult to try on the actual model. |
 |
まずは白一色。 White for both color. |
 |
後ろだけ緑パターン。 Green for the vertical wing. |
 |
緑一色パターン。 All green |
 |
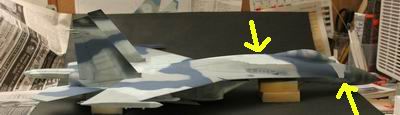
ノーズにエンジングレーが入った場合。フランカーはこの4つのパターンが実際に存在するが、今回はこのパターンで行くことにした。 Tip of the nose is engine gray. I decided this scheme for my model, because it looks "cool"! Actually the Flunker has these 4 schemes. But I don't know the reason. |