 |
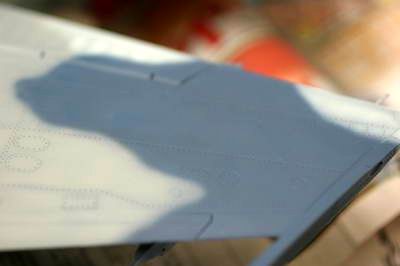
ブルーは当初74で塗ってしまい。72を塗りなおしたのでのっぺりしてしまった。 Let's finish up the camouflage painting. As I mentioned that I mistakenly painted this blue with No.74 first and then repaint with 72. It finished like this smooth. Panel lines are gone. |
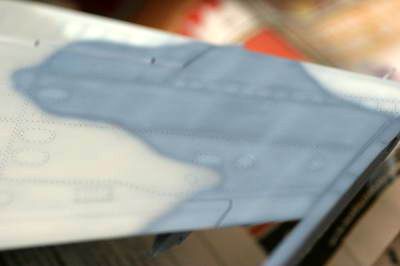 |
そこで、72に74を少し混ぜ、中塗りをして、パネルラインを出してみた。 So, I mixed 72 with 74 bit. I air-brush inside panel lines like this photo. |
 |
72番はちょっと他色との境界がはっきりし過ぎたが、よしとする。35番は35に少し14を混ぜて、ラインと境界を塗って強調した。314は314に14を少し混ぜ、境界ラインのみはっきりさせた。この作業でスプレーのしぶきを消すことができる。 The boundary of 72 is little bit darker than I wanted. But it will fade by "wash" later. I also air-brush only to the boundary of 314 with 314 mixed 14 bit, and 35 with 35 mixed 14 bit. It distinguishes each boundary more clearly. |
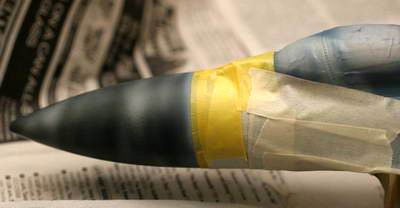 |
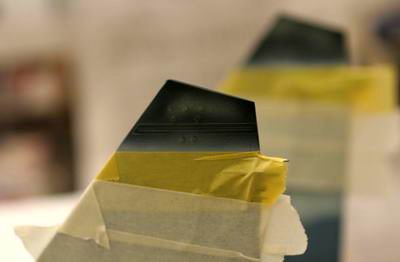
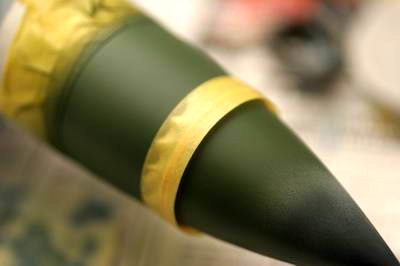
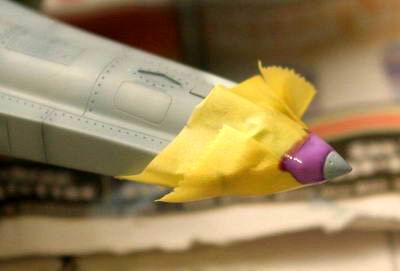
ではMr.カラー340番のフィールドグリーン塗装の準備。ノーズのラインは出しにくいが、最初に細めのマスキングテープで境界を決めて、残りは太めのテープでカバー、遠いところは安いテープでカバー。節約、節約! Mask the nose for air-brushing of Mr. Color No.340 Field Green. It's hard to mask such curved line. I used narrow masking tape first and then wide tape for the rest. I use cheap tapes further protection. |
 |
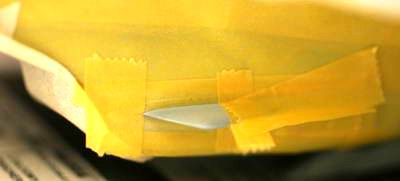
まるで手術中。さらに遠いところは紙。 角のアールはマスキングテープではやっかいなので、マスキングゾルを併用した。 It looks like a operation for appendicitis, isn't it! I use paper for further protection. I use Maskol for the round corner masking. |
 |
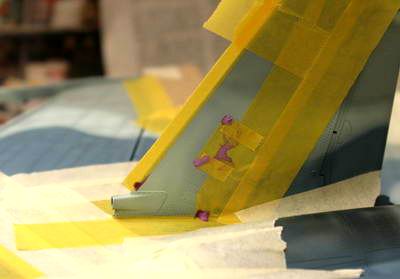
おしりのセンサーも緑。実は、このパラシュートカバーを開けて、着陸後、滑走路を流し塗装し、パラシュートが開いているジオラマにしようかと一瞬思ったのだが、パイロットを乗せていないことに気がついた、、、 The tail censors are also green. While I was masking here, I happened to think nice diorama idea. It's a diorama of the running Flanker with opening parachute on the runaway painted as running scheme. However I remembered that I forgot to board a pilot in the cockpit! |
 |
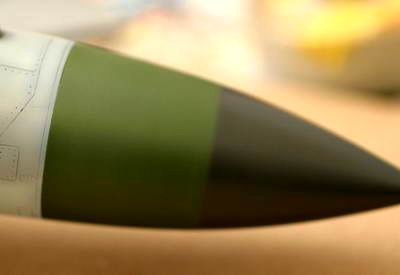
尾翼トップも緑。 Here is green. |
 |
エアーインレット脇の清流版?も半分は緑。 The front half of the airflow vane? is green. |
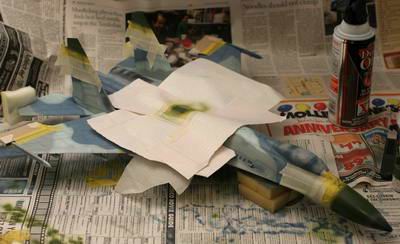 |
こんな感じでマスキング。 Mask all parts and air-brushed with 340. |
 |
上の写真ですべてかと思い。緑塗装を行った後、この部分と下写真の丸い部分と主翼付け根の小パネルが緑と判明、せっかくエアーブラシを洗ったのにやり直し。 I thought that's all and washed my air-brush with stinky thinner. Then I noticed that I forgot to paint several parts like here. |
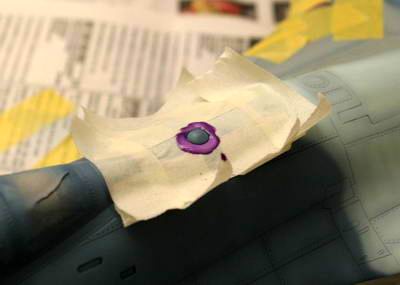 |
これは何でしょうか?誰か教えて! And here. By the way, what is this ball? Is this censor? If you know what this is, please let me know. |
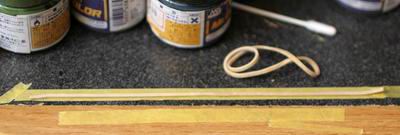 |
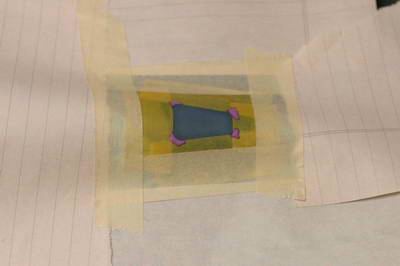
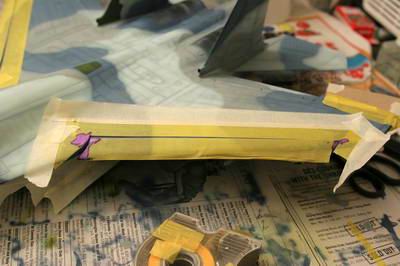
ノーズの塗り分けは一考した結果、マスキングテープ裏に輪ゴムを貼り付け、 For the gray painting on the nose, I put an elastic rubber band to the masking tape,,, |
 |
このように貼り付け、 Put tape like this,,, |
 |
残りをカバーして、 Cover last half,,, |
 |
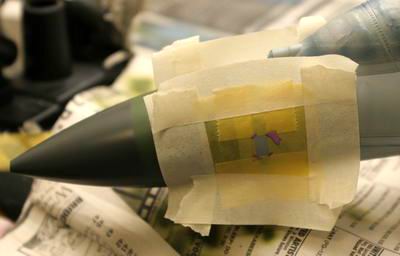
Mr.カラー339番のエンジングレーでエアーブラシすれば、ほら、いい感じのぼかし境界ができる。 Air-brush Mr. Color No.338 Engine Gray. Here you are. I got such a nice blurry boundary. |
 |
せっかく前回塗装したフラップ裏面も、迷彩塗装が入り込んだため、やり直し。Mr.カラー117番のブルーグレーで塗装。 Although I have already painted the back side of the flap. I have to repaint it as the camouflage color sneaked in. I air-brush Mr. Color No.117 for here. |
 |
パラシュートカバーの先端もついでにブルーグレーで塗装。 Air-brush the tip of parachute cover with the same 117. |
 |
ここは白のデカールが用意されているが、せっかくなので、白で塗装。 There are white decals for this part. But I air-brush them with white. |
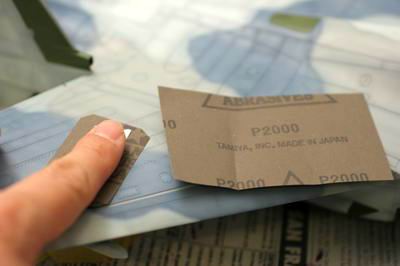 |
すべての塗装が終了。表面がざらざらになっているので、2000番のサンドペーパーでかるく均すと、手触りが格段と変わる。次のウォッシングにも大きく影響するので、ペーパーがけは必要である。 Lastly, lightly sand the surface of the paint with No.2000 sand paper. It makes the surface very smooth and it's good for the "wash". You can feel very nice smooth with your finger after sanding. |