 |
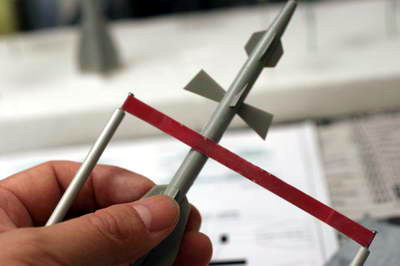
パテで埋まったラインを彫り直す。ハセガワのトライツールがこのような局面には便利。 Rase panel lines with Hasegawa's Try Tools. This is very handy for such a curved lines. |
 |
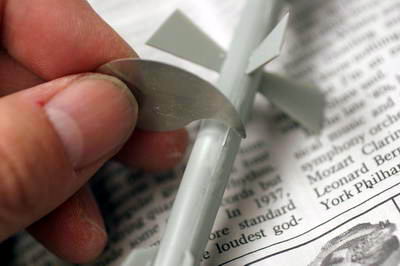
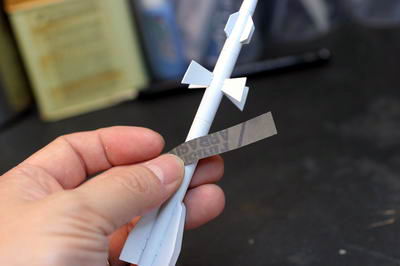
FLEX-I-FILEはこのような用途の為にあるサンドツール。280番でパテ落としと段差修正。 It's easy to align with FLEX-I-FILE.. Sand off the steps and putty with 280GRIT. |
 |
600番のサンドペーパーで中間仕上げ。 Sand with #600 paper. |
 |
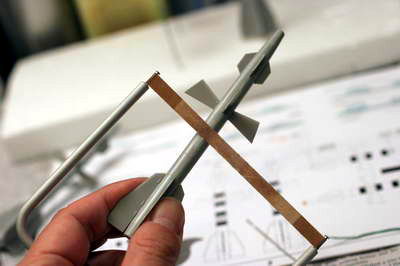
最後にFLEX-I-FILE600番で表面処理。 Lastly sand with FLEX-I-FILE 600GRIT. |
 |
プライマにはグンゼのMr.ホワイトサーフェサー、塗装はMr.カラーのグランプリホワイトを4回程度重ね吹き。 Spray Gunze's Mr. White Surfacer first and then air brush Mr. Color 69 Grandprix White 4 times. |
 |
塗装後は2000番で最終仕上げ。 Sand with #2000 paper. |
 |
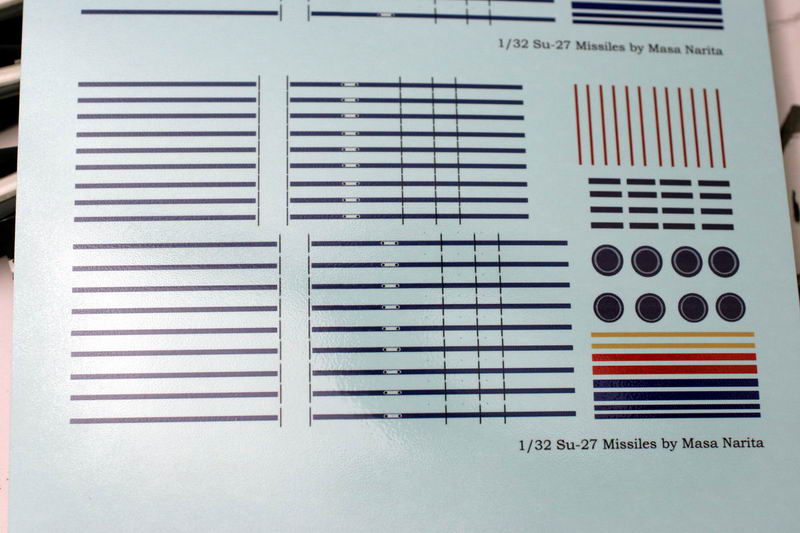
キットのデカールは好きではなかったので、いろいろ探してみたがロシアのミサイルの写真はほとんど見つけられなかった。しかし英国のサイトにあったイラストが気に入ってそのスキームにすることにした。なお、写真を探すにあたり、協力してもらったチェチェンのAleš Myškeřík とChris Wilsonに感謝します。 I did not like the instructed color scheme. So I tried to find other one. But there are very few actual missile photos on the internet. But I found one cool illustration at UK website. I choose it. I would like to say thank you Aleš Myškeřík CZECH REPUBLIC and Chris Wilson who sent me several photos. |
 |
透明カバーの内側をクリアオレンジで塗装。 Air brush clear orange inside the clear parts. |
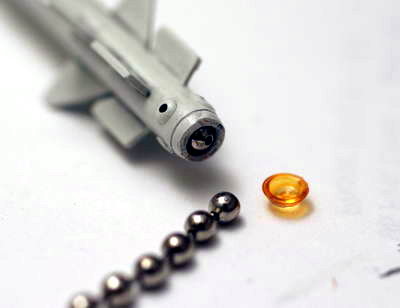 |
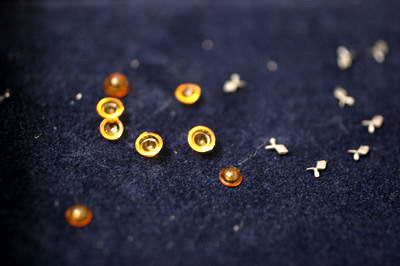
メタルボールチェーンのボールを埋め込む。 Put a metal ball cut from a chain. |
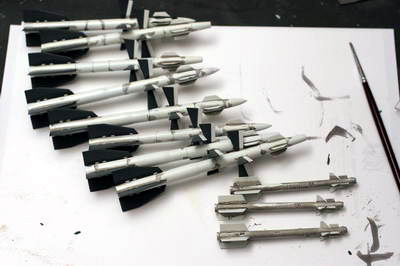 |
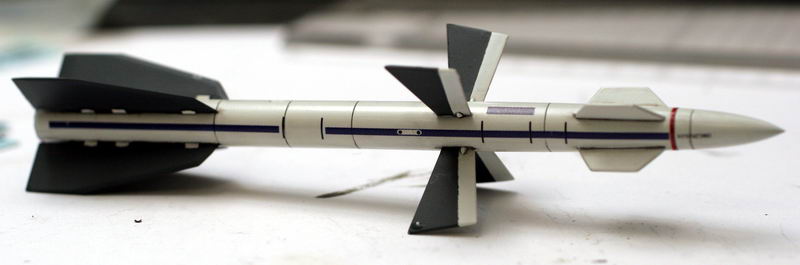
フィンはジャーマングレイで塗装。おそらく本物は黒と思われるが、模型っぽくなるので、グレイにした。 Air brush Mr. Color German Gray to the fins. I think the real color is black. But painting black dose not suite for the models sometime. |
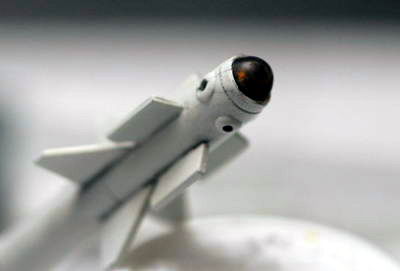 |
透明パーツの内側にもう一度スモークグレイを吹く。 Air brush Mr. Color 101 smoke Gray inside the clear parts again. |
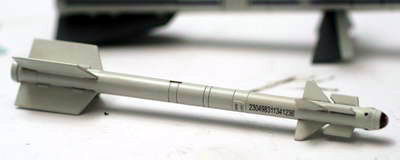 |
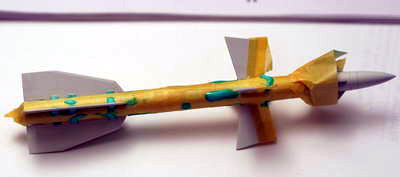
デカールを貼って、後は半つやコートして、金属部品を付けたら完成。 Put kit's decals and spray semi-gloss coat. And then put metal parts and done. |
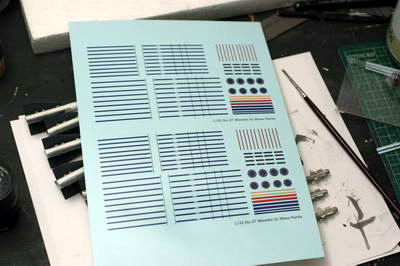 |
今回初めてデカールを自作してみた。色々な問題が発生しかなり苦労したが、なんとか満足できるものができた。 I made custom decals with my PC. This is the very first decals I have ever made. There are so many nuts and bolt stuff I would like to write here,,, but not now, next time!. |