 |
フラップの合わせ目にもったパテを削る。 Sand these putty off. |
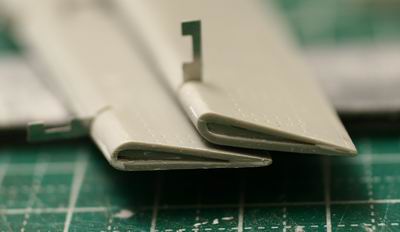 |
短いほうの端は目立つので、丁寧に処理する。 Especially this end of the flap are very visible, finish them clean. |
 |
フラップを仕上げたら、主翼にはさみ込み、接着する。この後に主翼の境目にパテ盛りしておき、明日以降削る。 After the completion of flaps and ladders, put them to the wings. Then put putty on the edges and leave them tomorrow for cure. |
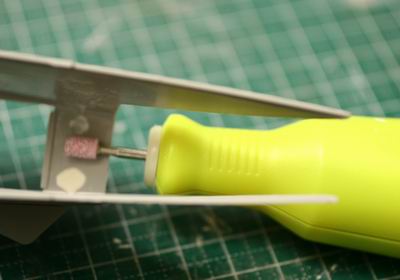 |
この部分は手が入りにくいのでリューターを使用すると良い。この浦和マイクログラインダーも山田先生のお勧め、これまでグンゼのGtoolを買って懲りていた私は、「騙されたと思って買ってみなさい」と言われ購入、今では手放せない存在だ。 It hardly reach here, so, use a sanding drill. This Urawa Minitor is very powerful and very stable. I really recommend this. |
 |
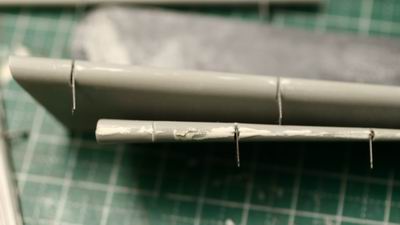
この線はなんだ?パテで埋めて消しておく。 What is this line? Put putty and erase it! |
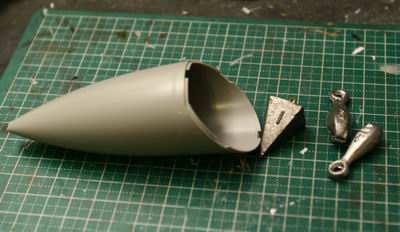 |
アウトオブボックス違反であるが、ノーズコーンには釣りの錘を適当に仕込んでおこう。 This is against "out-of the box" rule, but I need to put some fishing weight into the nose corn. It would make the model stable. |
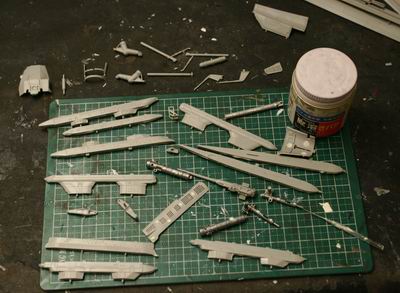 |
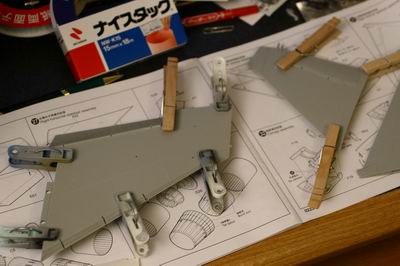
4日目の進捗度チェック。 塗装前に、組み立てれるものはすべて組み立てて、継ぎ目処理などを終わっておく。 This is 4th days progress. I will build all parts as much as possible before the painting work. Finish all parts clean and ready for painting. |
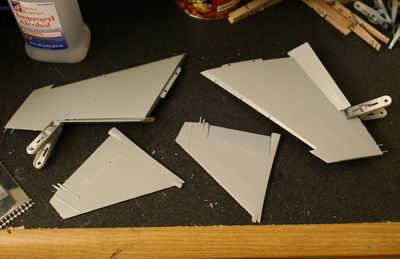 |
翼関連。 Wings |
 |
コックピット部品、ギアベイなど内部部品。 Inside colored parts such as cockpit parts and gear bays. |
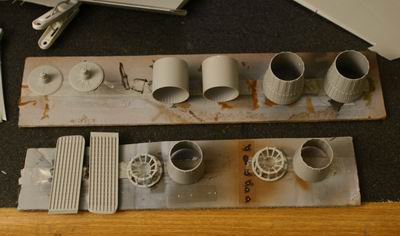 |
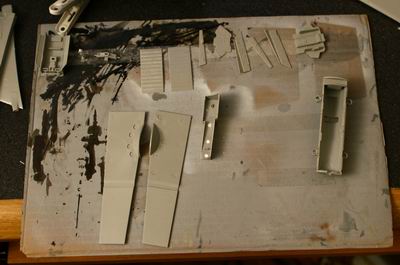
銀色関連。 All metal finish parts. |