 |
こんな感じ Washing effect ends up like this |
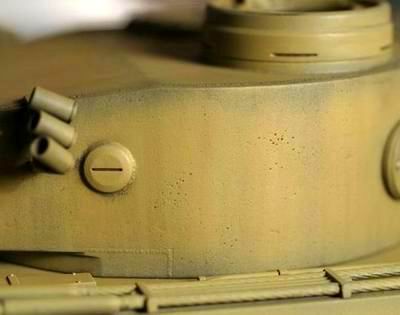 |
いかがでしょうか It looks all right! |
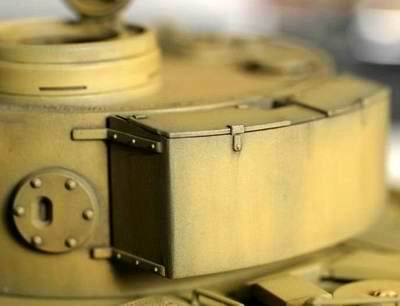 |
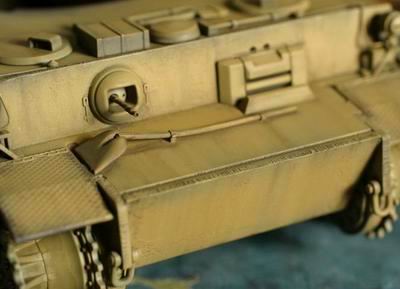
ゲペックカステン Baggage container. |
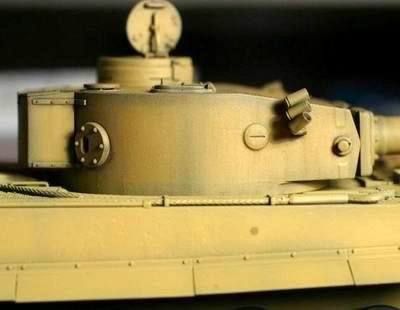 |
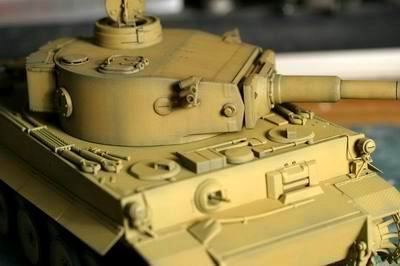
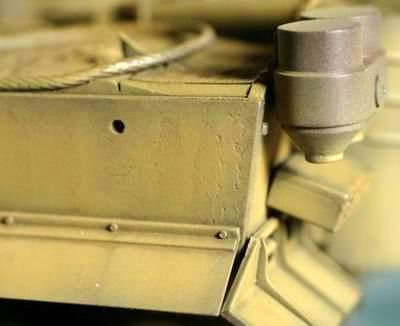
側面 Side view. |
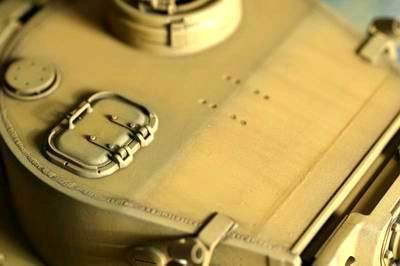 |
上部 Top view of turret. |
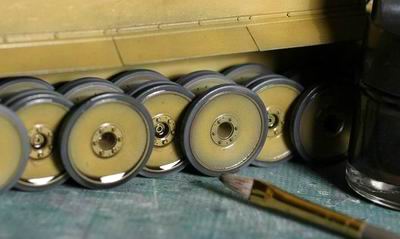 |
車体のウオッシング Chassis weathering. |
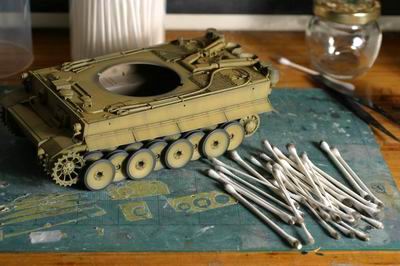 |
これだけの綿棒で完成。 I used quite a number of cotton buds to finish this part. |
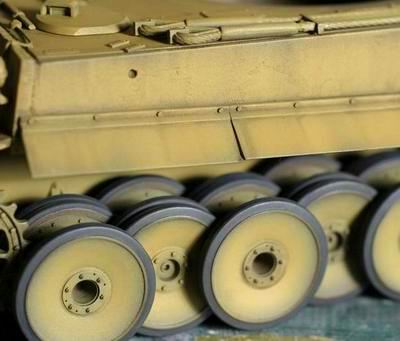 |
側面 Side view. |
 |
前部 Front View. |
 |
いかがでしょうか How does it look? |
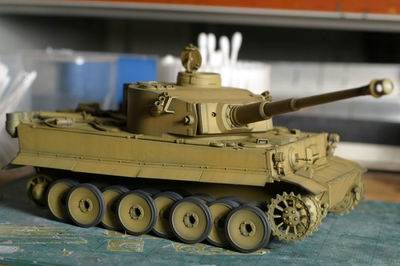 |
ウオッシングの完了 The completed wash. |
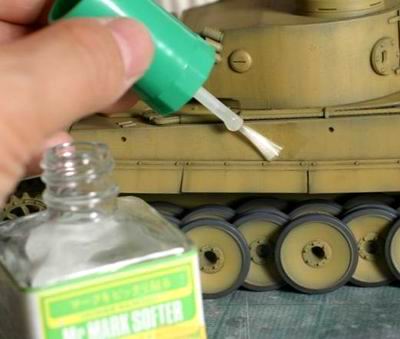 |
デカールを貼る前に、デカールソフターを塗る。これでデーカールが密着できる。 Before applying the decals, I first brush on some decal softener. This makes the decals adhere tightly. |
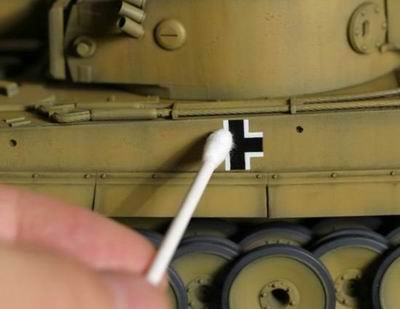 |
上から綿棒で押さえて、内部の空気を完全に押し出す。 I use a cotton bud to settle the decal flush from the top downwards, pressing out any air that might remain under the decal. |
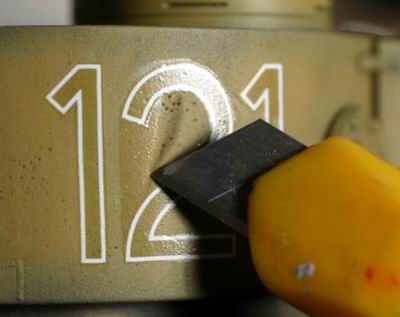 |
デーカールの余白は事前に可能な限り切り取る。貼る前に切り取ると貼りにくくなる部分は貼ってから、カッターで切り出す。 I removed as much of the excess clear decal film away as I could before applying the decals to the model. Some more difficult to remove areas are cut away after application, using a cutter. |
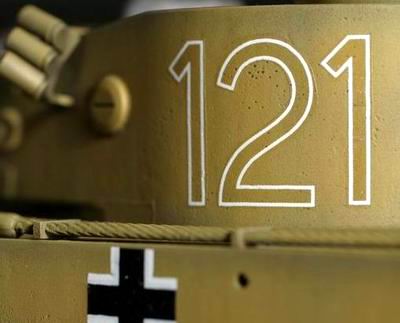 |
こんな感じ like this... |
 |
デカール貼りが終わったところで、装備の塗りわけ。金属部分はまずアクリルのジャーマングレーを筆塗り。 As soon as the decals were applied, I moved on to paiting of the equipment. First, I hand-painted all the metal parts in acrylic German Gray. |