 |
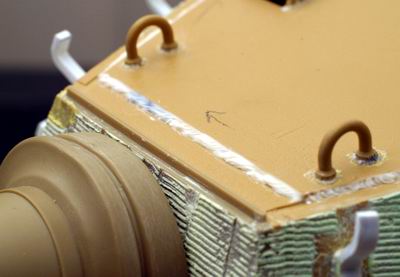
エバーグリーンの角材を3mm幅に切り、ドライヤーで加熱して整形。 Cut Evergreen 2.5mm thick strip to 3mm wide, and heat up with a hair dryer to bend to shape. |
 |
これは便利、弾痕は電池利用の医療用局部加熱器A-tipを近づけるだけ。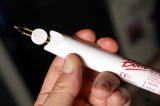 A battery operated medical heater "A-Tip" is very handy for making bullet “splash marks”. Actually ordinary bullets and small shells would not penetrate this thick armor to make holes! |
 |
|
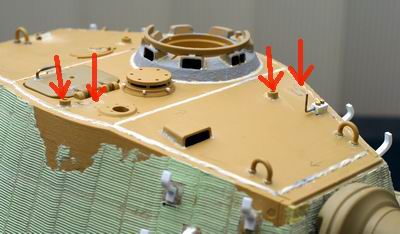 |
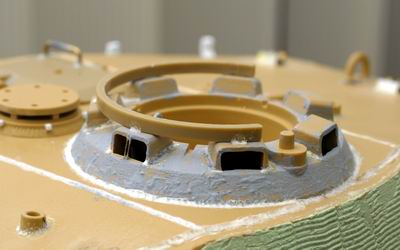
ピルツは前期タイプの位置に変更している。切り取りは薄刃ソーでそーっとね。 There are three small sockets (Pilz) on the turret, designed to take the tripod legs of a small crane. I moved them to the correct position for the early production turret. Cut them off with Hasegawa's razor saw. |
 |
ベンチレーター部のとげとげはプラ角材から。Sマイン投出口は穴をふさがず、そのまま。 Use Evergreen strip for the small lugs around the ventilator. I didn’t alter the hole that represents the muzzle of the S-mine launcher. |
 |
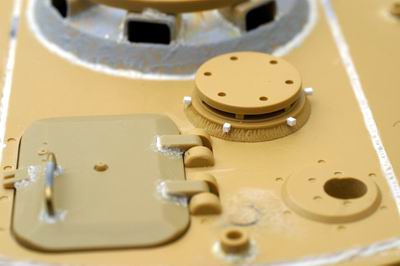
照準器はプラ材とABERエッチングセットのボルト、真鍮線から自作。上の汚れた跡はピルツの元の位置。 Use Evergreen, brass bar and bolt heads from ABER's Tiger 1 photoetch set to make the sighting device. The black stain just above it is the original position of one of the small crane sockets. |
 |
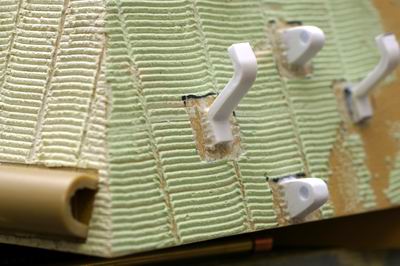
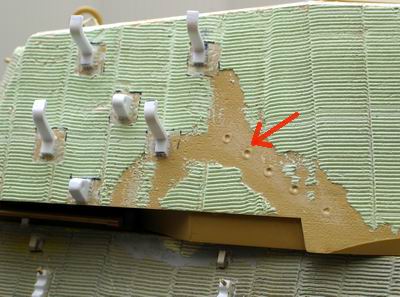
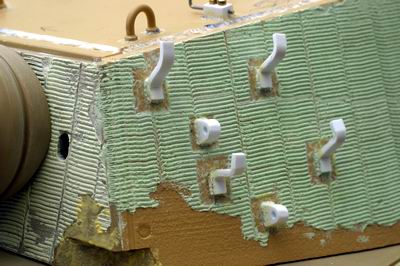
溶接跡はクレオスのMr.溶きパテを塗って、少し表面のみ乾いた状態で針を刺して横方向に滑らすと、いい感じとなる。 I used new Creos Mr.Putty to apply weld marks. It's very handy, lay it along the weld line and wait for the surface get dry, then stick a needle into putty and slide it along the line. That's it!. |
 |
キューポラ部は鋳造の質感を再現。パテをシンナーで溶いて塗りつけたのみ。 Put thinned putty on the surface of cupola to represent the rough texture of the cast molding process. |
 |
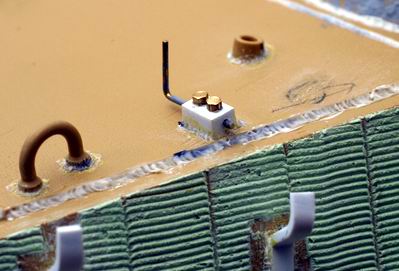
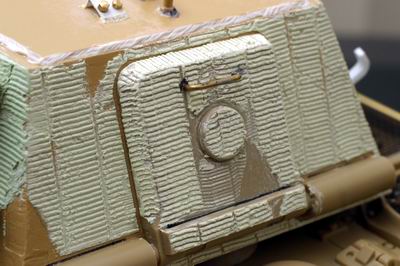
オリジナルの三角モールドを削り取り、毒ガス検知器?取り付け台をプラ板から作り直す。 Remove original triangular molds and make new Evergreen card pieces for the Poison Gas Detector mounts. |
 |
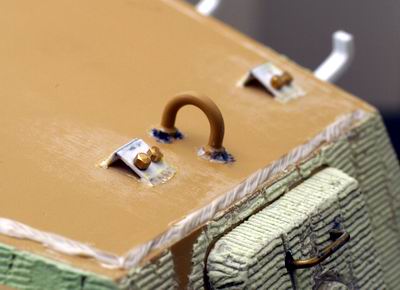
取手の変更。 横の丸いカバーにもツィメリットが必要だったようだが、またパテを練るのが面倒さくて辞めた。 Replace handle with one made from brass rod. I forgot to put Zimmerit coating on the rear hatch hinge covers. I just left it, because it was too much bother to make more poly putty! |