 |
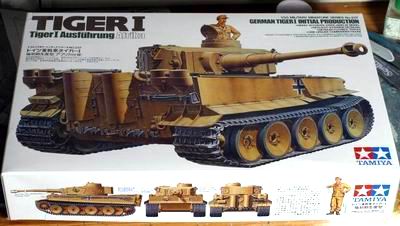
タイガー1を作るのは、これで4台目。今回は極初期タイプのアフリカ仕様。タミヤ限定キットである。 This is the 4th Tiger I which I built so far. I chose Tamiya's limited edition of the Early Production Afrika Korps rendition. |
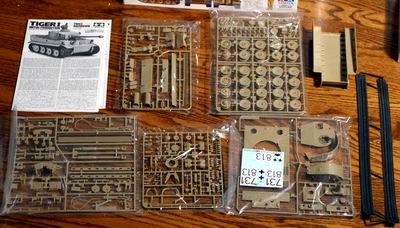 |
タミヤのキットは合いが良く、気持ちよく組み立てられる。何といっても見えない部分にプラスティック成型時のピン跡やパーティションラインがくるのが、嬉しい。細かいところまで気を配ったキットである。 Tamiya's kit is of very nice quality and easy to build. I like the Tamiya kit because parts fit perfectly and "pin mark" or "mold lines" are on the hidden side of parts. t |
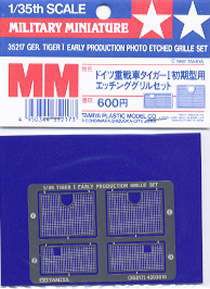 |
今回はディテールアップとして、組み立て説明書にも載っているタミヤのエッチングパーツのみを使ってみる。 I used only this etching set for detailing. This is Tamiya's grill set ($5.00). |
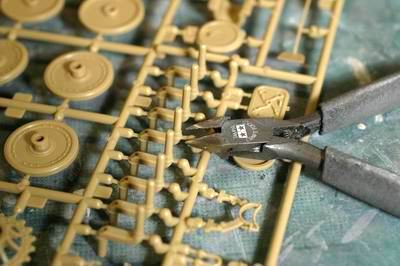 |
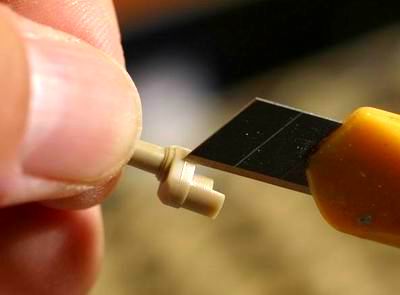
さあ、いよいよ組み立ての開始である。部品を切り離すにはニッパを使う。注意事項は次の写真にあるように、余裕を持たせて切り離すことである。 Let's start! Use a nipper for detaching the parts. Do not cut at a point close to the parts. |
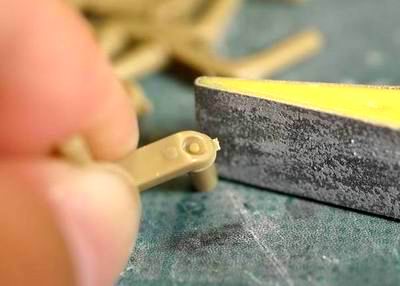 |
ゲートの処理は400番のやすりで荒削り。 Then sand off the gates with 400 grade sand paper. |
 |
そして、800番のやすりでフィニッシュ。目立たないところであるが、ゲート処理はしっかりやろう。 Finish with 800 grade sand paper. These parts are not so visible but nevertheless pay attention to cleaning up. |
 |
テンションバーの接着は直線になるように気をつける。定規をあてて確認する。 To maintain torsion bars in a straight line, use a metal ruler to line them up. |
 |
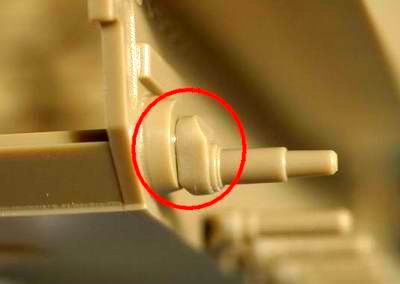
ボトムのへそもノミで削り取る。この金属製ノミは重量があるため、プラスティック加工に非常に向いている。 Cut off the belly-button under the hull. I use this heavy metal chisel from MicroMarks. It is a very handy tool for removing small portions of plastic. |
 |
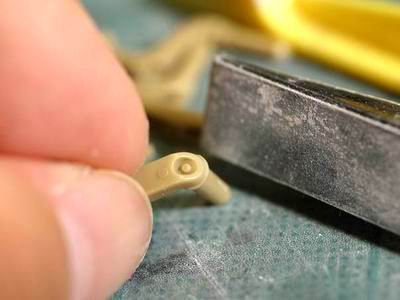
仕上げは800番のやすりで。 Finish with 800 grade sand paper. |
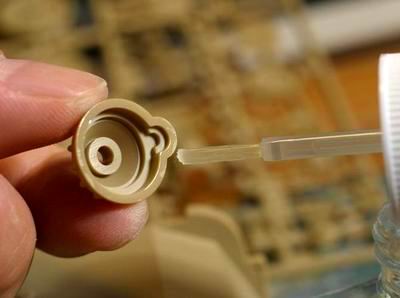 |
接着剤は使いすぎない。すべての接着面に塗る必要はなく、点々と少量載せれば十分。くれぐれもはみ出さないように。 プラスティック同士の接着にはスチロール系接着剤を使う。プラスティックが溶解し、しっかりと接着できる。一方、瞬間接着剤は即効性はあるが、横方向の力に弱く、衝撃で簡単に剥がれてしまうので、お勧めしない。 Do not apply excess glue. Just put a small amount at several contact points on each part. Avoid running glue. Use a styrene glue for gluing plastic. It works by melting plastic parts to one another. Avoid using instant glue for plastics. Although it's a quick solution, it is weak to side impact. I use instant glue just for metal parts. ) |
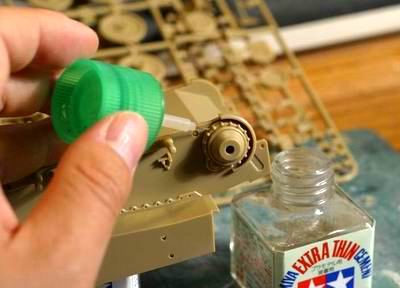 |
さらに、流し込みタイプのさらさら接着剤を少量流し込めば、完璧である。 Complete running thin plastic cement into the gaps. |
 |
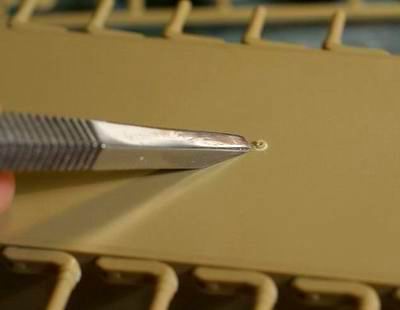
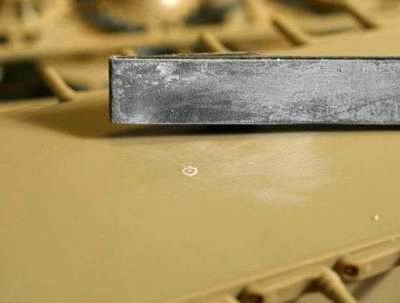
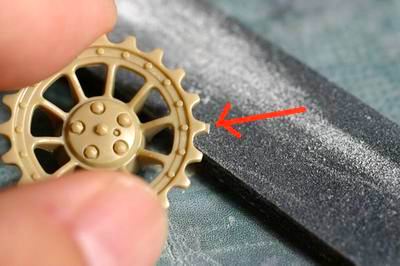
モールド成型時のパーティングラインは、カッターで消し、やすりで仕上げる。 To erase the mold lines, use a cutting knife or scalpel first, then finish with sand paper。 |
 |
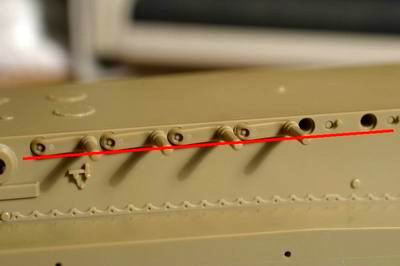
前後の車軸のパーティングラインはキャタピラの隙間から見えるので、消しておく。 見えないところは手を抜くのが、私の主義。さもないと模型作りは苦と化してしまう。 Sand off the mold lines on the front and back shafts. However, I did not erase them in between the shafts. My policy is that I do not care about joint lines or pin marks on the hidden side. Otherwise I get tired before completing the kit! |
 |
駆動輪のゲート処理もやすりで丁寧に処理する。 Sand the gate on the drive wheel off. |
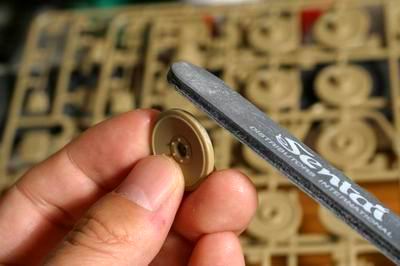 |
車輪サイドのゲート処理。 Sand off all gate marks on the wheels. 車輪は一気にゲート処理する。組み立て説明書ではこの後、車輪軸への接着となるが、塗装をやりやすくするため、まだ接着しない。 模型作りベーシック3か条 1.ゲートはニッパとやすりで消す 2.パーティングラインはナイフとやすりで消す(後述) 3.接着剤をはみ出さない |
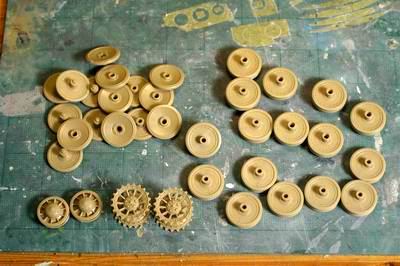 |
Completely remove all gates marks on the wheels. According to the instructions, the next step
should be to attach wheels to the shafts, but I did not attach them until I
finished painting them. Three basics of building scale models: 1. Remove all gates with nipper and sand paper 2. Remove mold lines only on visible side with knife and sand paper 3. Don't let glue run |