 |
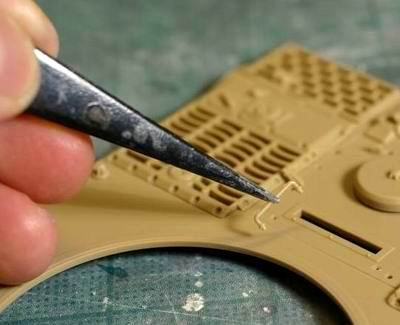
機関銃のパーティングラインはカッターナイフで削る。刃をラインに垂直に立てて擦り取るように左右に動かす。 Scrape off the mold lines on the gun barrel with a cutter knife. Stand the knifeblade on the joint line perpendicular to the surface and to the joint line, then move it back and forth along the line. |
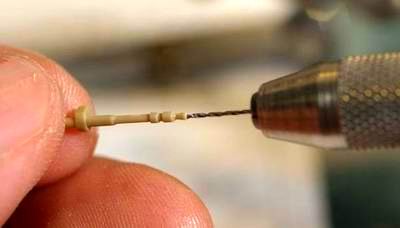 |
0.3mmのピンバイスで、銃口を開ける。 Make a small hole with a 0.3mm pin vise. |
 |
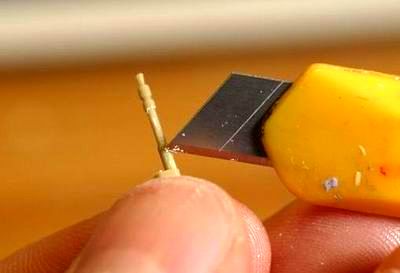
細かい部品の接着にはピンセットを使う。ハンドルのゲート処理は接着してしっかりと固定してから、やすりをあてる。 Use tweezers to handle small parts. I sanded off the gate mark on this thin handle after the handle is completely attached to the hull. |
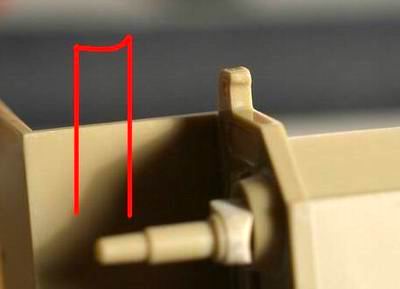 |
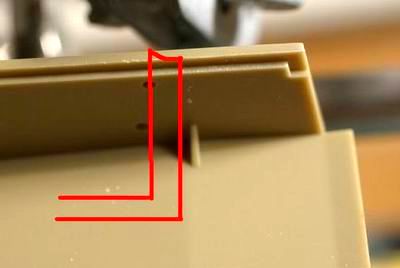
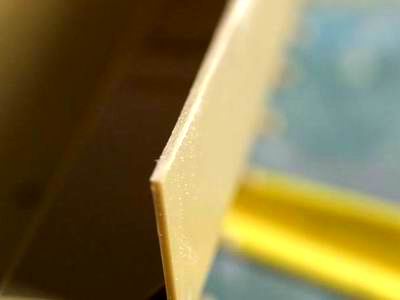
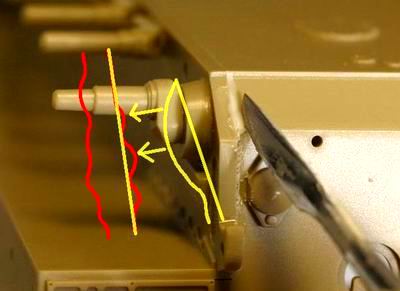
ここが味噌!プラスティックの成型上、パネル断面をよく見ると、図のように片側がせりあがっている。このまま組み立てると、全体に落ち着きのない模型になってしまう。 The secret is to pay close attention to the shape of the edge. It's not rectangular but like the red sketch in the accompanying photo. It subtly affects the finish if you leave it as it is. |
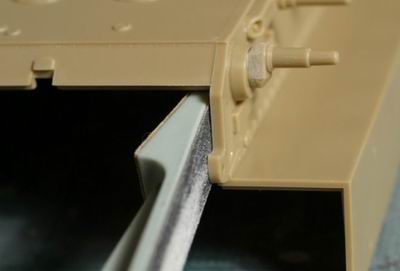 |
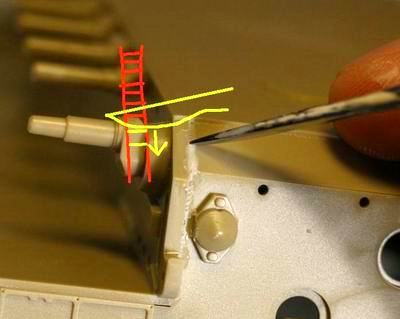
やすりをあて、跳ね上がりを平らにする。 Use filler to make it level and flat. |
 |
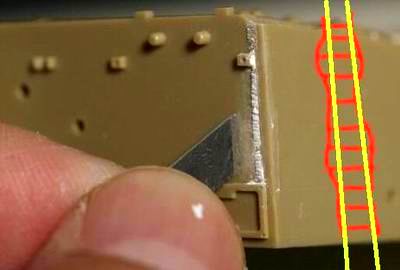
パネル断面を整形。 Flat cross-section of the panel. |
 |
この面も同じ。 Same as above. |
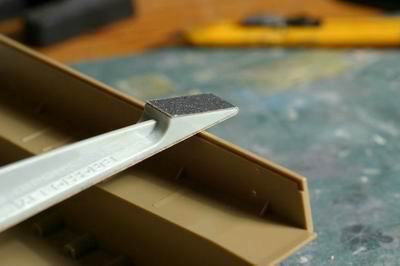 |
240番のやすりが使いやすい。表面のざらつき感を出すために、わざと仕上げはしない。 Use only 240 grade sandpaper so the surface remains fairly rough. |
 |
こんな感じ The surface of the real thing is not smooth either but like this. |
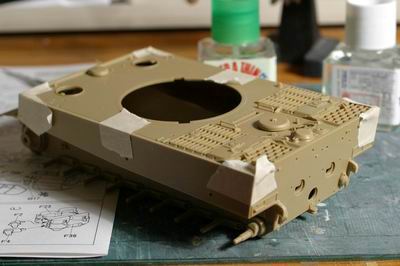 |
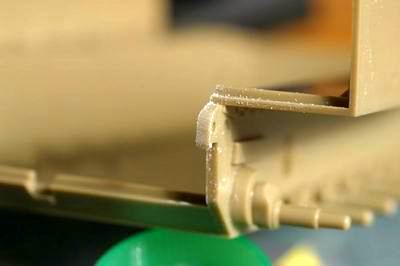
接着材が固まるまでマスキングテープで締めつける。 Use tape to fix them in place until the glue has completely set. |
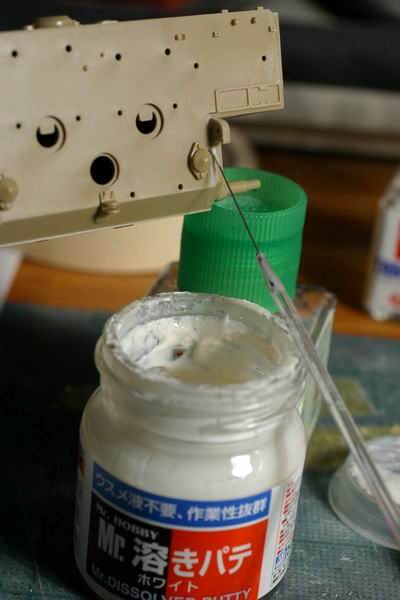 |
パネルの溶接面に溶接跡を施す。私はクレオスの新パテ、Mr.溶きパテを使う。これは便利。シンナーで薄める必要がなく、そのまま塗りつけられる。 Simulate the weld marks. I used Gunze's new product called "Mr. Dissolves Putty". This is very easy to use. You do not have to use thinner, just apply it straight. |
 |
細い棒で溶きパテを塗りつける。 Attach the putty with a sharp stick. |
 |
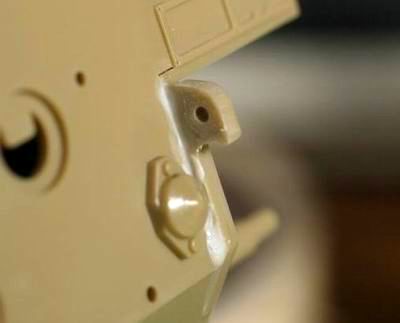
5分程度で硬くなってくるので、パテナイフなどでで跡をつけてできあがり。詳細工程は以下の通り。 The putty starts to get firm after about 5 minutes. Make horizontal marks with a putty knife. I explain the detailed steps in the following section. |
 |
少し硬くなってきた頃にはみ出した部分を削り取る。 Trim the putty after it's hardened little bit. |
 |
今度は横方向に溶接跡を刻む。 Make the striped marks. |
 |
そして最後にさらにはみ出した部分をナイフで落として完了。 Lastly, trim the putty again with the blade of a cutting knife. |